DIY sliding barn door in a weekend
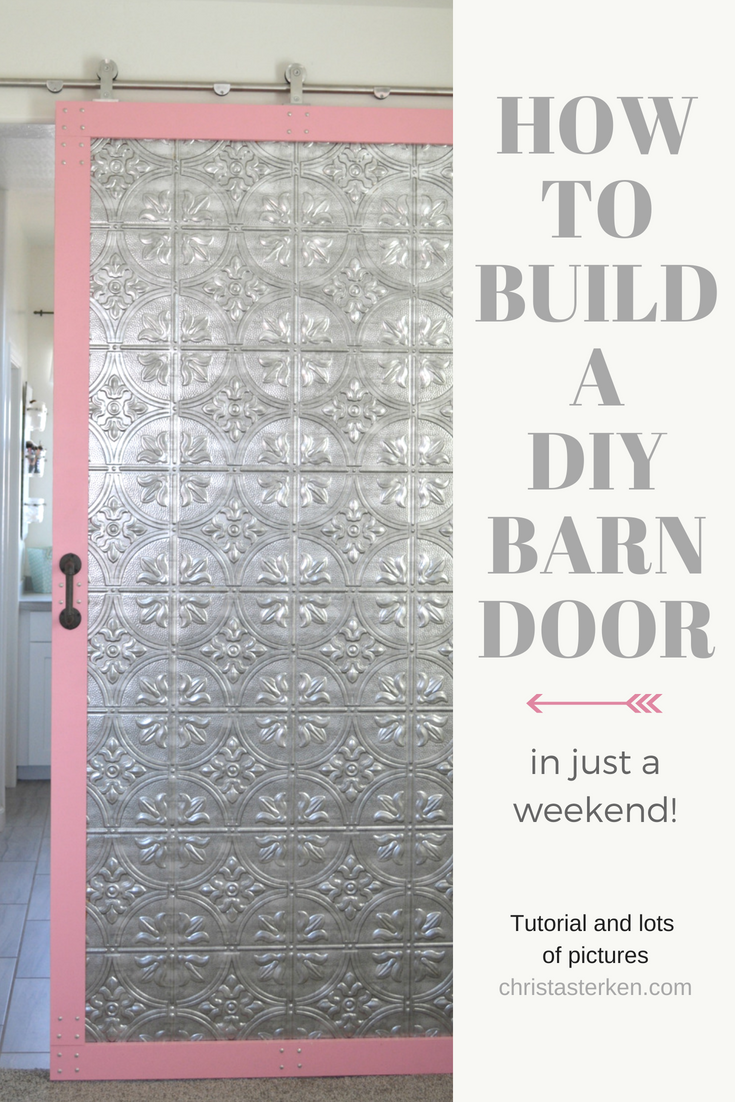
DIY sliding barn door in a weekend
Would you love to have a sliding barn door in the house, but think it is cost-prohibitive? Maybe you, like us, have a large opening into the bathroom, but no standard door would fit?
Or you enjoy the satisfaction of making things yourself, but don’t have a ton of woodworking experience?
This is the post for you! A complete tutorial with tons of pictures and easy to follow directions, for a unique DIY barn door.
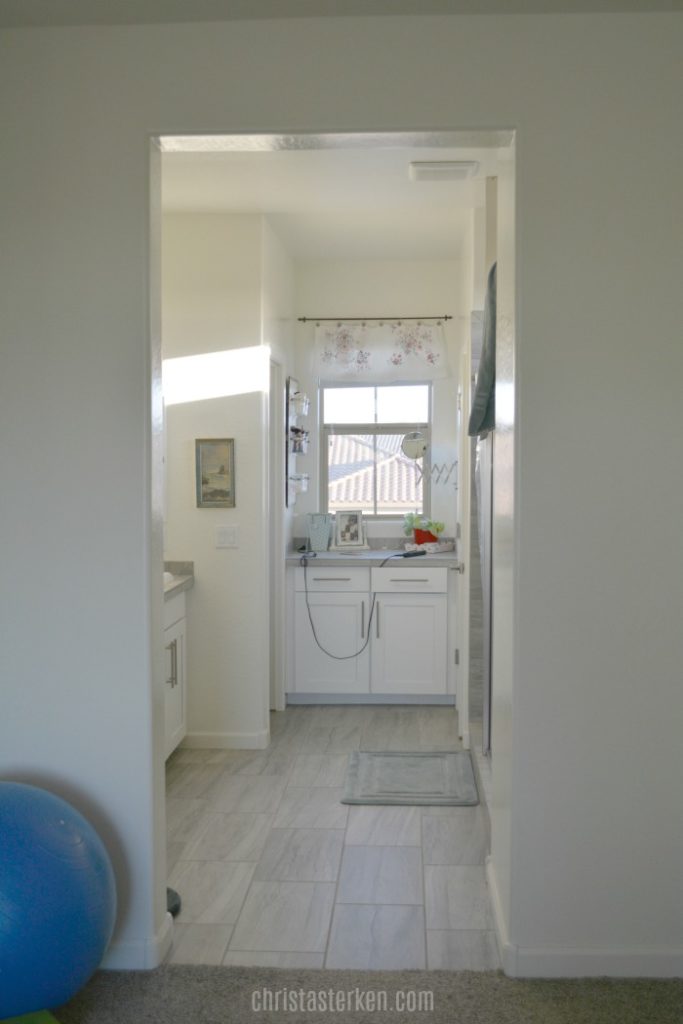
Our bedroom/bathroom had no separating feature and felt like a cavernous space with no interesting feature to anchor the area. Also, builders in our area seem to prefer an open layout.
I prefer a DOOR for the bathroom for a few reasons.
One, privacy! Two, in the mornings the sun lights up the bedroom quite early through the bathroom windows. I dreamed of a door since we bought this home, but to purchase a barn door was out of our price range.
Interior sliding barn door for beginners
My sweet husband agreed to take on the task of creating a barn door, and I want to assure you…not much experience is needed to create a partition to be proud of!
He knows my ideas often change mid-shopping trip (ha-ha), and we decided to just do the best we could.
Have fun and you’ll find that perfection doesn’t need to be the measure of success.
Before heading to the hardware store, make a careful measurement of the opening you want to cover. Allow extra room on the sides and top to prevent light from seeping into the bedroom.
Our doorway is 41inches by 8 feet, so we thought outside the box, and decided a great beginner door could be based on a piece of plywood (trust me, it’ll look amazing).
Easy DIY sliding barn door
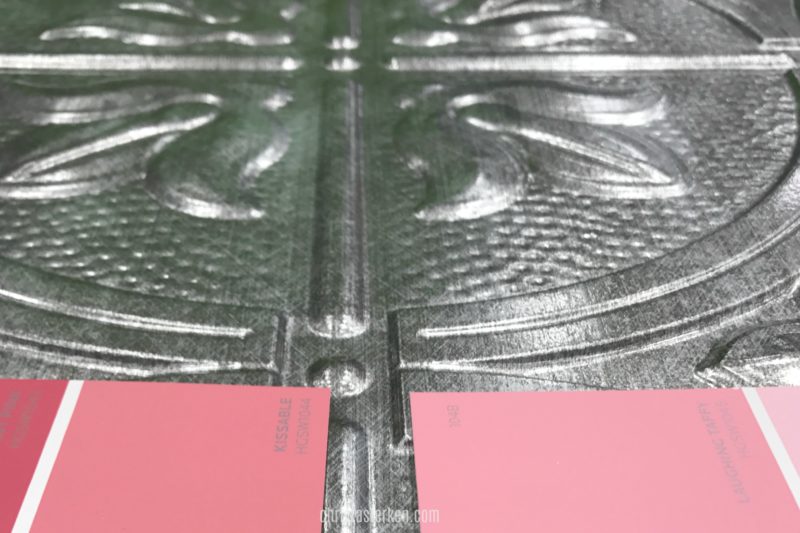
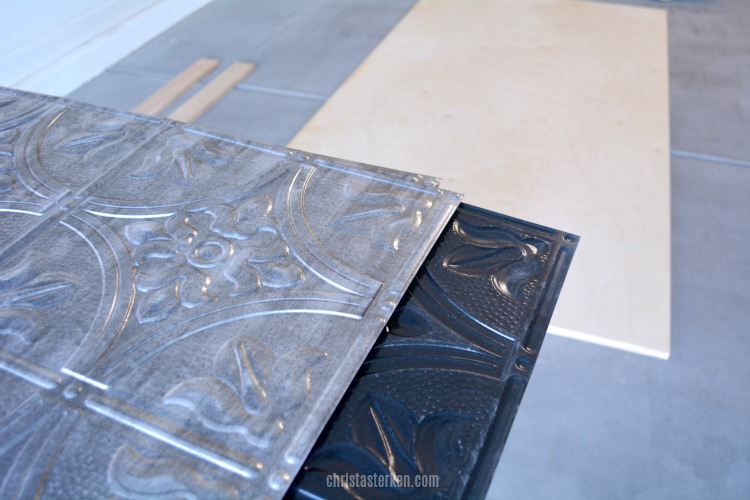
Keep in mind, you can totally customize your door to have any design that matches your decor. We set out with plans of a traditional farmhouse style but passed these sheets of replica tin ceiling tile sheets (they are plastic).
They had been returned and marked down. It just happens that 4 sheets was the exact size we needed! So, a weightier and rustic style became our mission.
To make a door like ours, you’ll need:
- 4 sheets of decorative panels
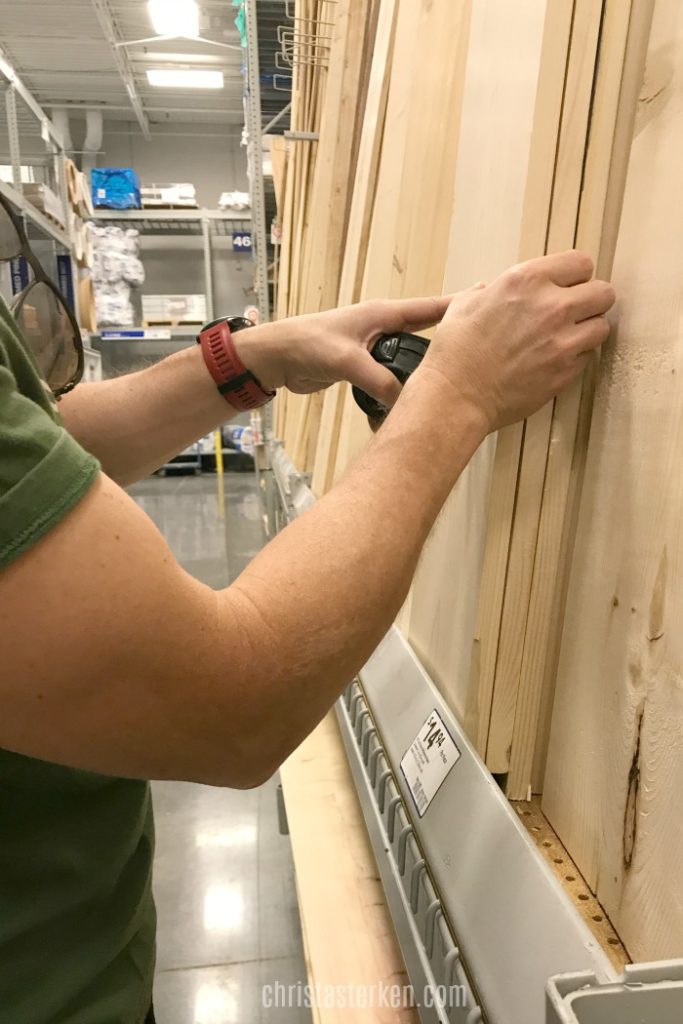
- 1 3/4 inch sheet of plywood, which is a 4×8 sheet (we used birch for a smooth finish on the opposite side)
- 1 x 4 planks for perimeter framing
- Screws
- Wood glue
- Handles (found ours at Hobby Lobby)
- Upholstery nails
- Glue gun
- 1 quart of paint
- Saw
- Hardware to hang the door (we used this one, be sure to look for “quiet” in the description)
- Disclosure: I only recommend products I do/would use myself. This post may contain affiliate links that at NO additional cost to you, may earn me a small commission to help support this blog. Read full privacy policy here.
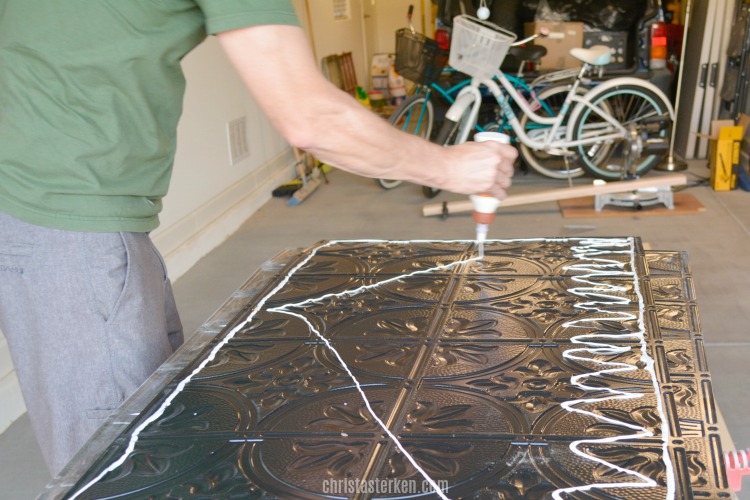
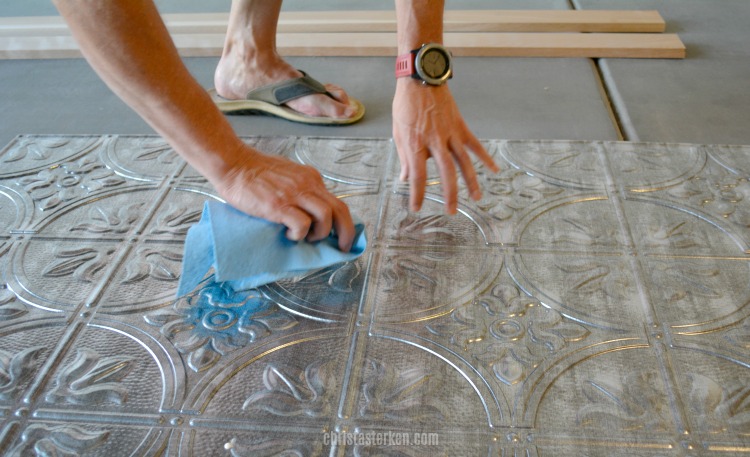
The first step is to adhere the panels to the plywood sheet. We used plenty of Gorilla wood glue, and lay the sheets down, one above the other.
Make sure they are lined up straight, and when you press down, wipe off any excess glue that might squeeze out.
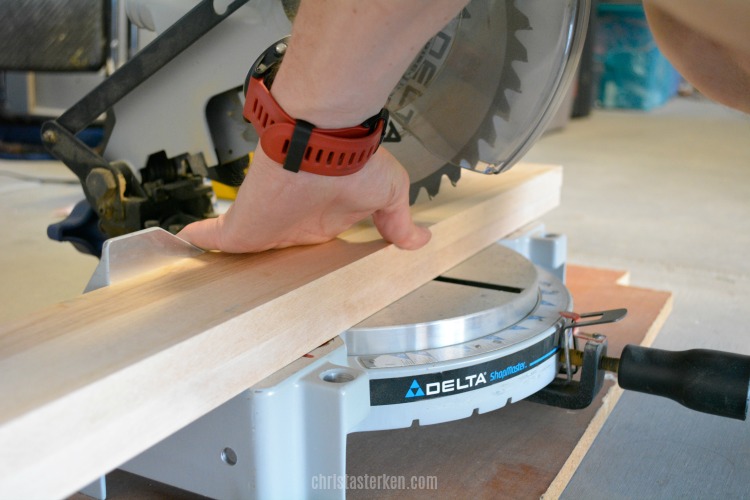
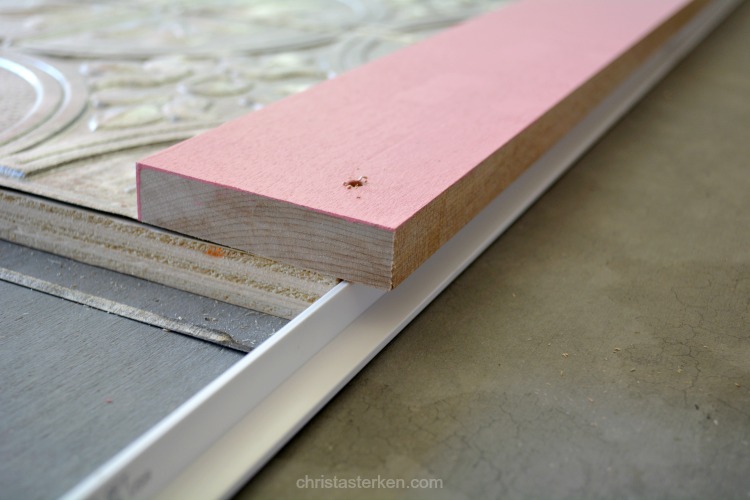
It is time to cut the trim. Remember the old adage “measure twice, cut once.”
Measure the pieces that will border your door carefully. This is optional, we chose to paint the trim pieces prior to putting them on the door.
That eliminated the concern of keeping the paint from getting onto the silver sheets.
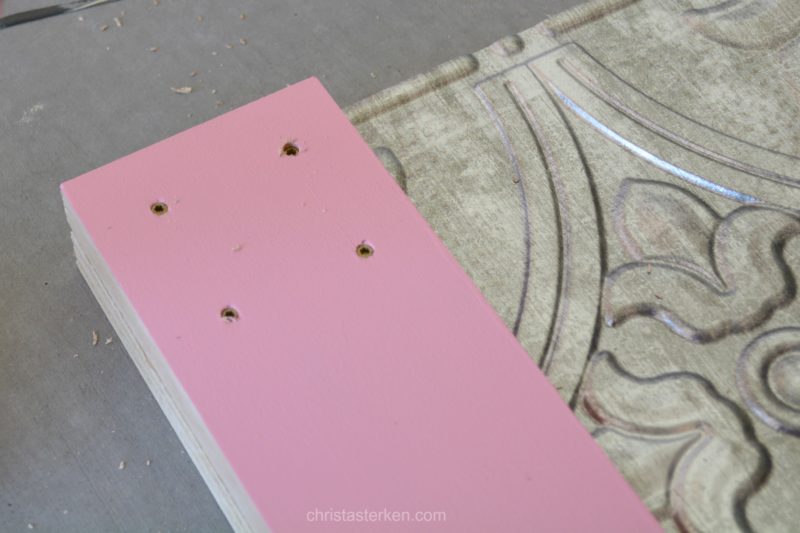
My husband chose to create a pattern on four screws on each corner and in the center of the longer pieces. Again, totally a preference, place them how you enjoy the layout.
One thing to note here, we chose to add more detail on top of the screws (you’ll see at the bottom of the post) but you CAN countersink them, putty over them, and paint for a more sophisticated look.
Your door kit might come with a guide to place into the floor, to keep it from wobbling too much. For the BOTTOM piece of trim only, we placed it with an overhang, to allow for the guide.
Again, totally optional.
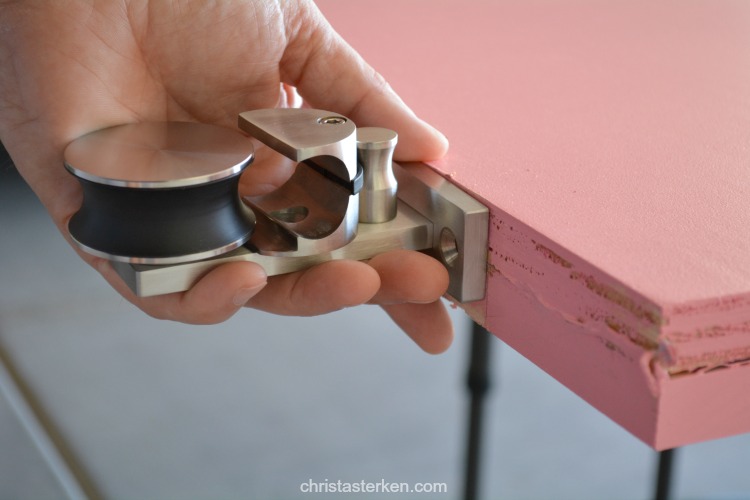
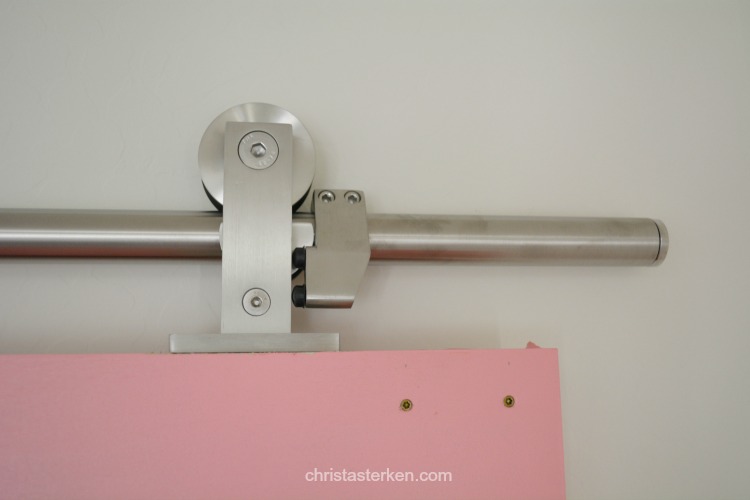
Attach the mechanisms that will sit on the rail once installed.
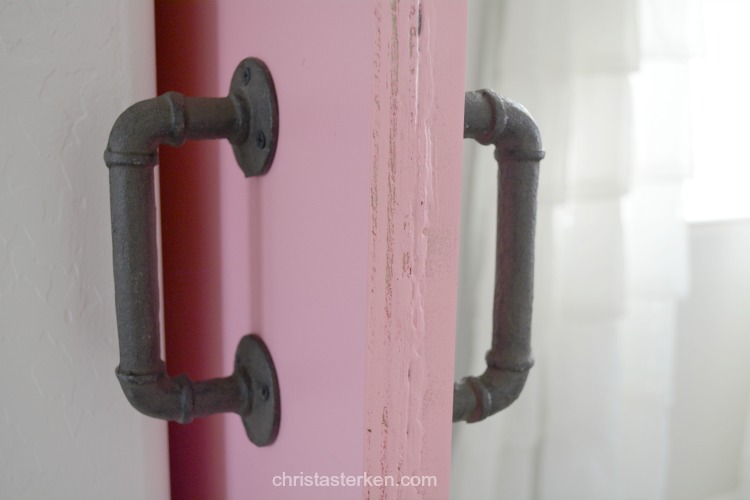
You’ll notice that the edges look a little rough. This is the one thing we weren’t completely satisfied with. My husband tried to fill it in and sand it down, but eventually, we will find trim that covers it.
Currently, we couldn’t find just the right look. That can be added later.
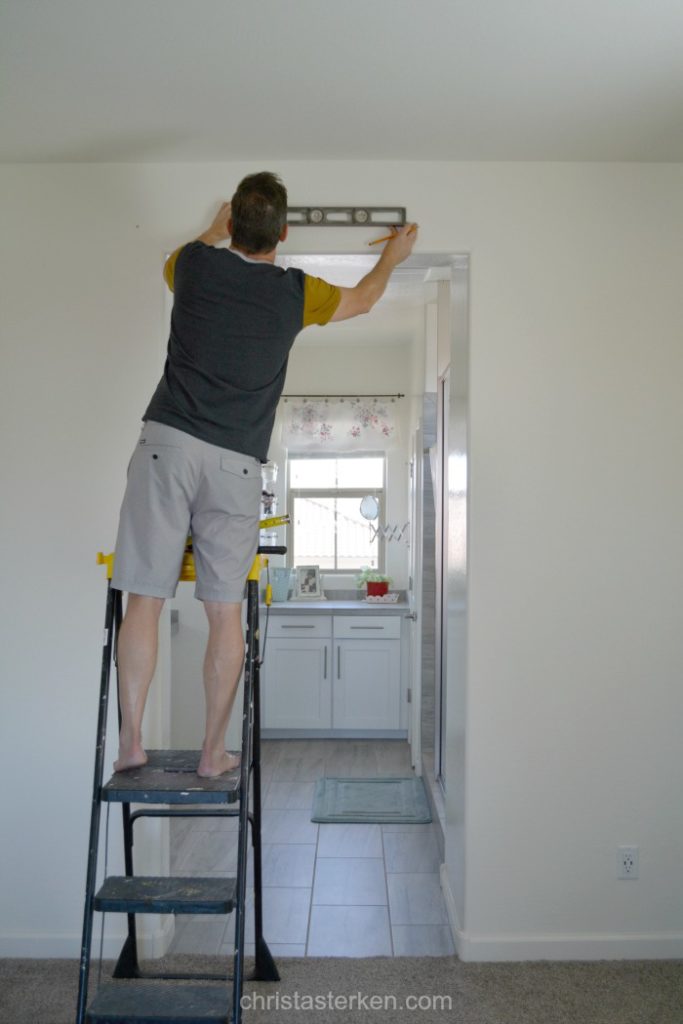
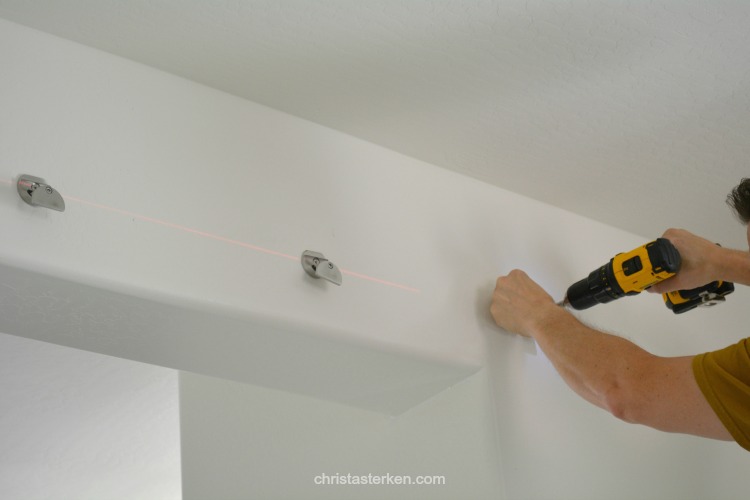
It is time to follow the manufacturer’s directions to install the sliding rail system. Ours was very straightforward. Use a level to make SURE about the placement of the anchors before attaching to the wall.
This is probably the most important step.

DIY sliding barn door track
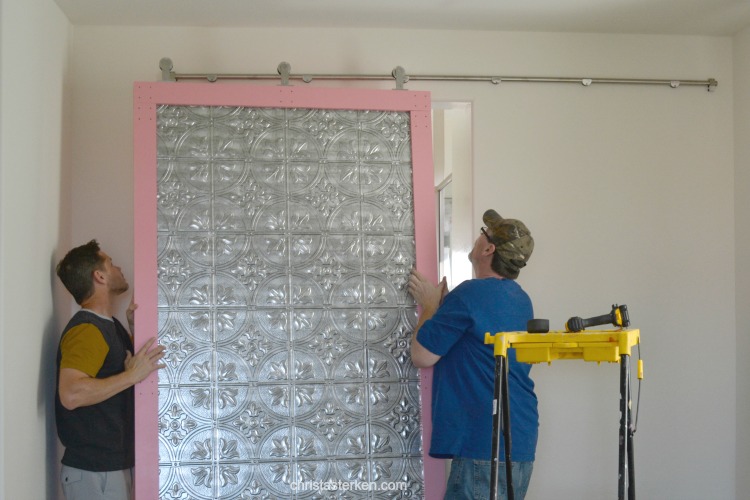
It is time to lift the door onto the rail!
This was pretty heavy, so recruit some help to lift it into place. It should set onto the system easily.
If your rail comes with a “stop” install it to the right of the door, to prevent it from opening too far.
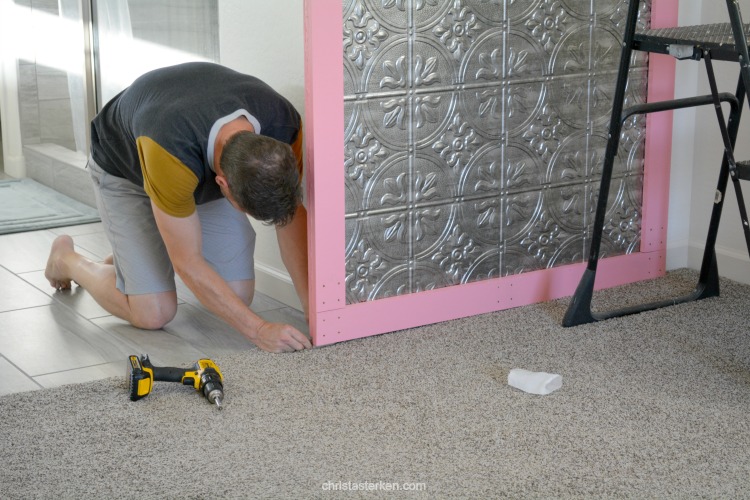
Attach the floor guide if desired. We chose to install it, especially since the wind blows strongly through here when the windows are open.
It helps it glide smoothly across the floor.
DIY sliding barn door hardware
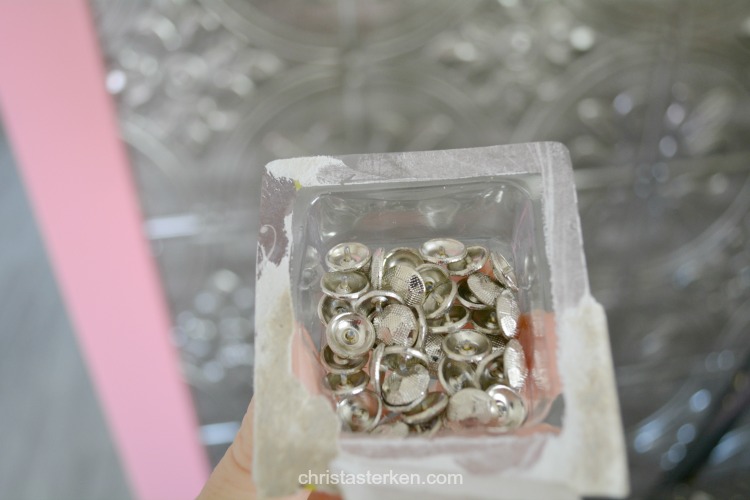
Time for the finishing touches! To continue the old-world feel of the design, we bought upholstery tacks (you can find them at Hobby Lobby in the fabric department).
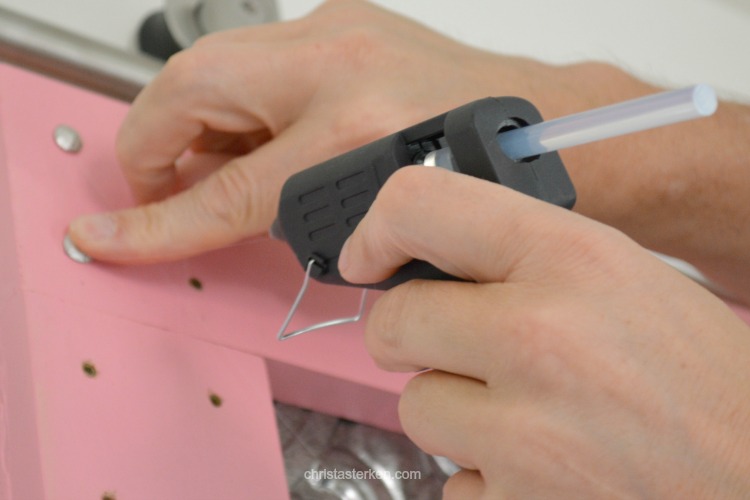
To make them lie flat against the board, we snapped off the nail with plyers, and then hot glued them over the screws. This made SUCH a drastic difference for a small detail. Love it!
Finally, add the handles. One important thing to account for— the handle on the inside (bathroom side) will not be exactly opposite the bedroom side. Once you have your stops set, close the door to the desired spot. Then, install the inner handle.
The door needs the extra space to close on the inside, but it won’t be obvious when it is done.
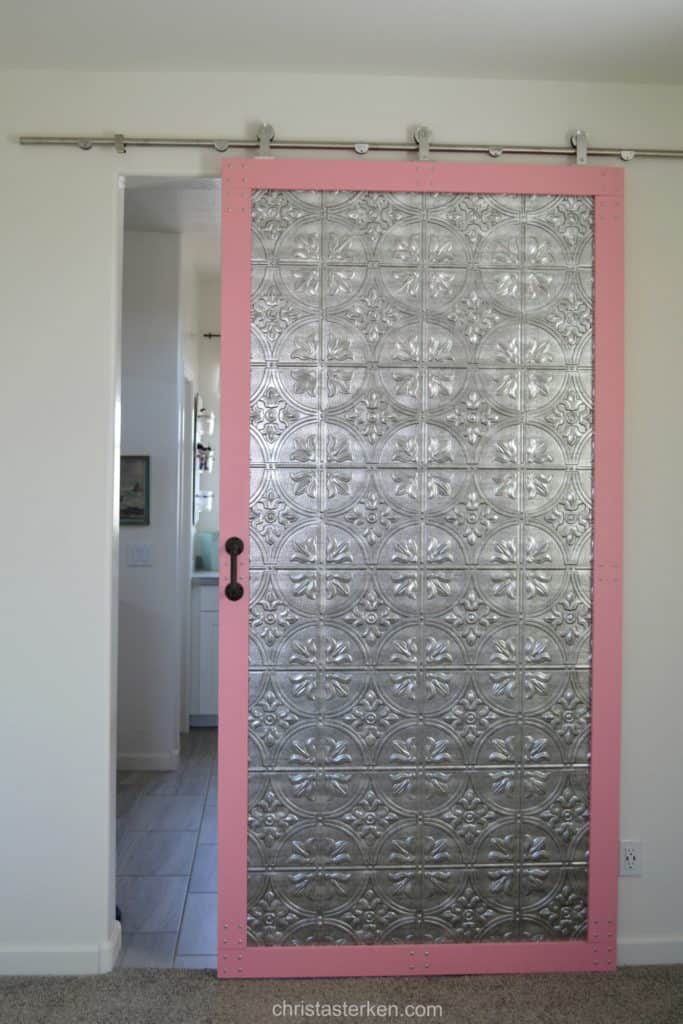
Finally, the finished product! It changes the whole feel of the space, and we are so pleased. I hope this tutorial is helpful in building a door unique to your home!
Nesting is one of my favorite things, and this project makes it feel that much more personal. Happy creating!


")

Love this Christa. One of the things I love doing is to create beauty around my home on a budget. I love to see how others are doing this too.
Christa, what a great idea and project. The door turned out beautiful. I’m sad to say that my husband and I are both limited with any DIY project and not very crafty. 🙂 Thanks for sharing.
Thank you so much, girl trust me. Our experience always comes from projects that sometimes work…and sometimes…not so much 😉
As an HGTV fan, I LOVE the new trend of barn doors! Your door is lovely and unique with the textured material. I’ll have to save this tutorial for reference for my future home!
Dani, that HGTV is such a creativity booster. They sure have a huge audience, don’t they? I am so glad you like this and are encouraged to give it a try
Love the barn door. Where did you buy the decorative panels?
Thanks Maureen, they were on clearance at Lowes!
Hi, I love this! I would like to do this project. I have one question, What was the size of the individual tiles? 12×12 or 24×24 ?
Hi, so sorry for the delay! THey were 12 x 12. Hope the project goes well!