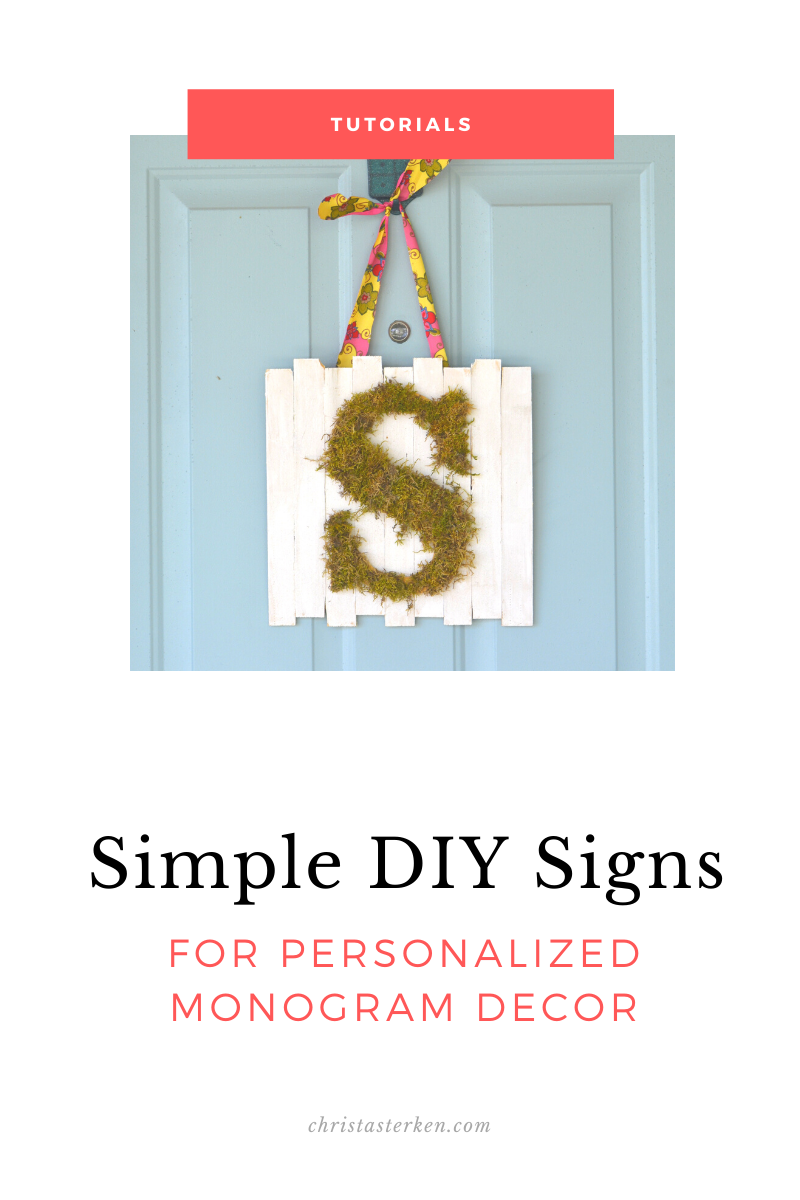
Charming DIY ottoman with hidden storage
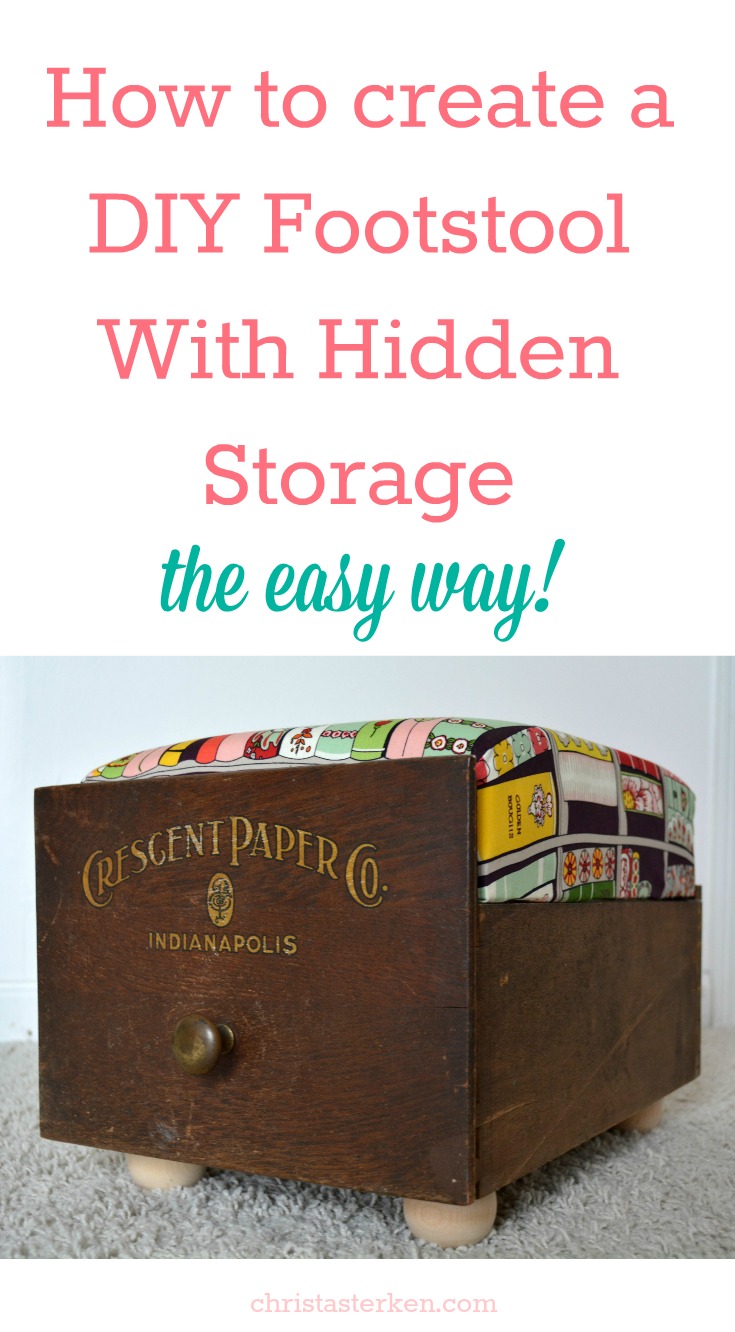
Charming DIY ottoman with hidden storage
Creative ideas for old drawers can give new life to discarded furniture. Repurpose old drawers into a footstool or ottoman with one-of-a-kind charm. The Sterken house is FULL of personal, repurposed items. It just doesn’t feel like home to me to have all “new” things.
Character is how we start building the interesting layers of our nest. Finding items that tell a story helps make homes unique!
I am excited to share this DIY project with you- repurposing an unused drawer into a footstool with hidden storage. The base will be a drawer, which already provides function and storage!
What makes this so fun, is that you can use almost any combination of container and fabric to create a custom piece perfect for your decor.
Any drawer will work, and based on the size could even become an ottoman. This will be a functional, as well as unique item of furniture (and makes a great conversation piece).
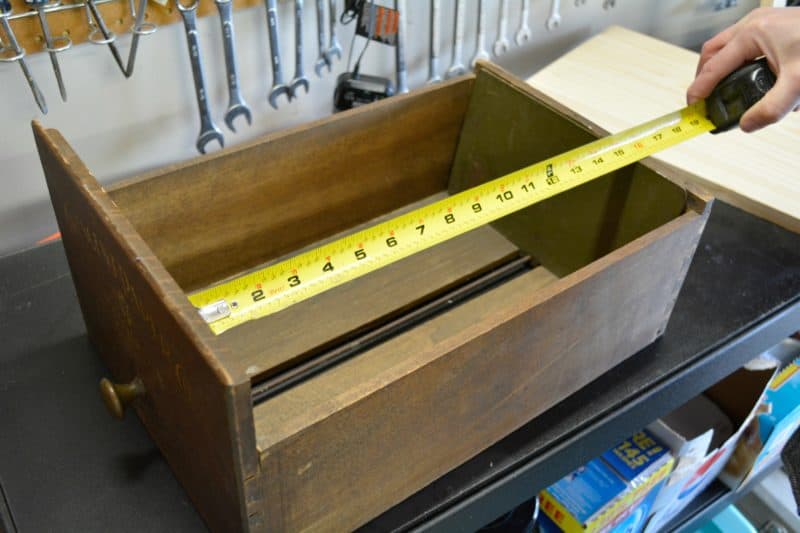
This drawer was found in an antique store; it’s from the Indianapolis Paper Company. Being a history-loving writer, anything with the word “paper” on it catches my eye. But that isn’t the only reason it is special to me…
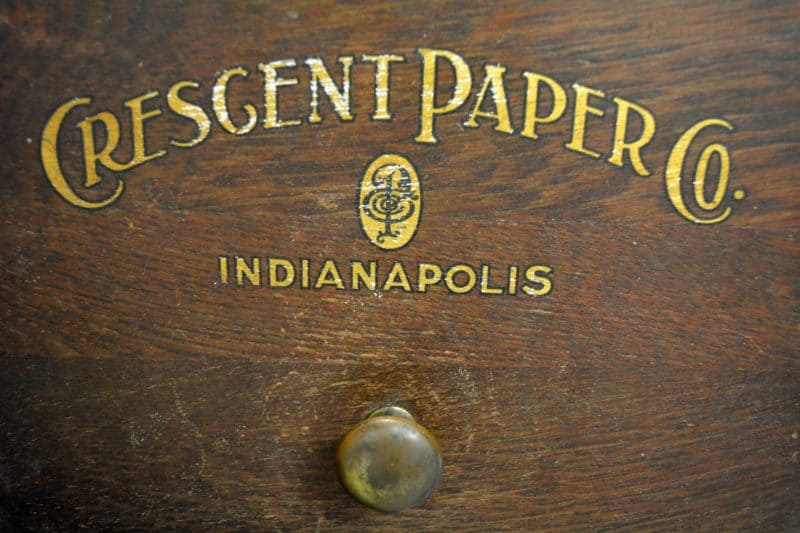
I found mention of the company in the July 19, 1886 edition of the Madison Herald. It appears to have been managed by a Mr. Wm. O. DeVay and was advertised as one of the “leading depots of supply in this line in the west”.
This felt close to my heart, because I was able to trace my roots back to another paper company. The one of my grandma’s childhood stories.
My great-grandfather was a Chemical Engineer at the St. Regis Paper Mill in upstate New York. That mill eventually became Champion International Paper Company.
I was fortunate to explore the ruins of the old mill. If you enjoy photography of abandoned buildings and historical sites, you can search on my blog for pictures of this journey.
Here is one old drawer idea you will have to try!
What can I make with an old drawer?
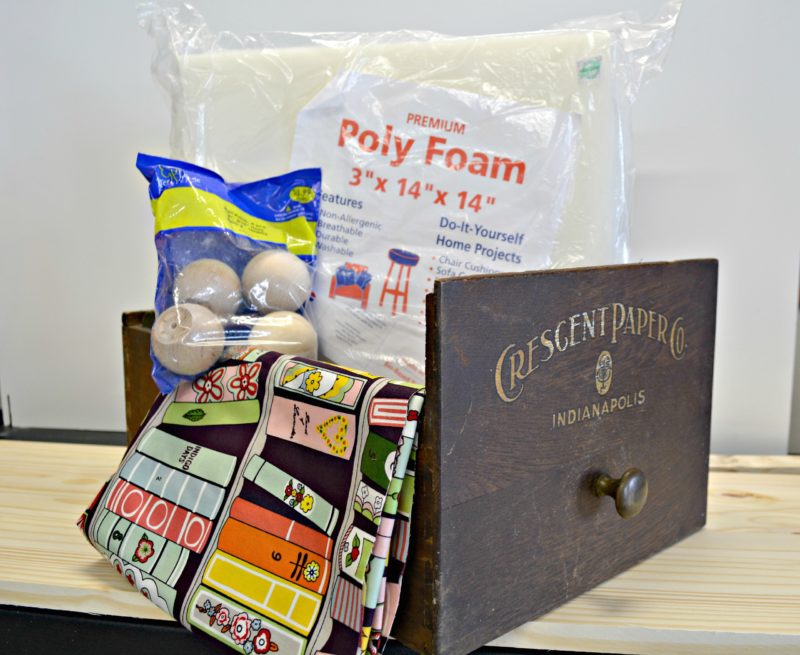
Here is your Supply list to make an ottoman custom to your home taste!
- Drawer (or any container you choose!)
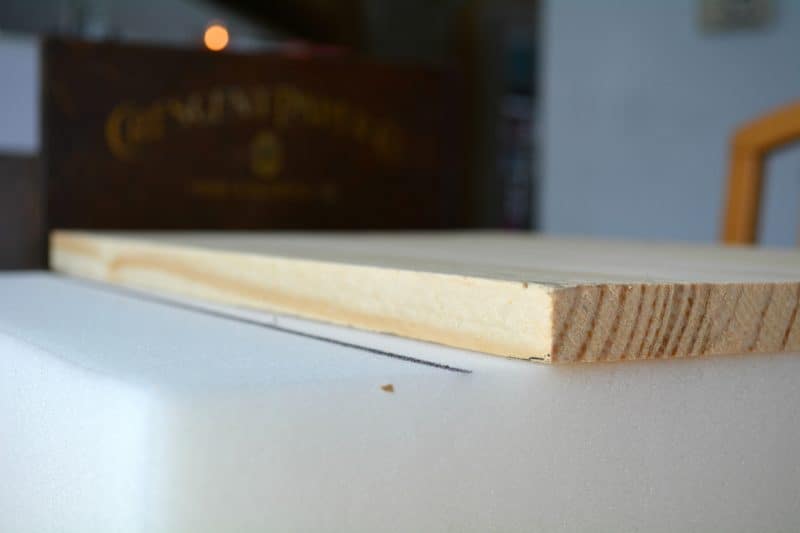
- Small sheet of wood. (I used a piece of Pine 5/8” x 12” , cut to fit the drawer)
- Strip of wood (I used ¾” x 1” pine)
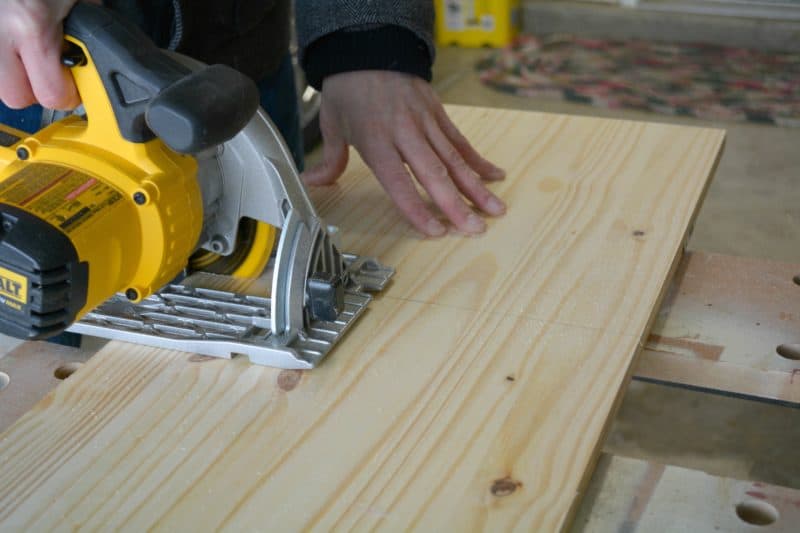
- Saw (or you can have wood cut for free at the hardware store)
- Screws and drill
- 4 wooden feet. Casters would also work well
- Thick piece of Polyfoam (I used a 14” x 14” x 3” piece)
- 1 yard of fabric
- Glue
- Sharp utility knife
- Staple gun
*Disclosure: I only recommend products I do/would use myself. This post may contain affiliate links that at NO additional cost to you, may earn me a small commission to help support this blog. Read full privacy policy here.
Create a unique footstool from an old drawer
- Take careful measurements of the drawer. The sheet of wood needs to rest on top of the sides, so it won’t fall in
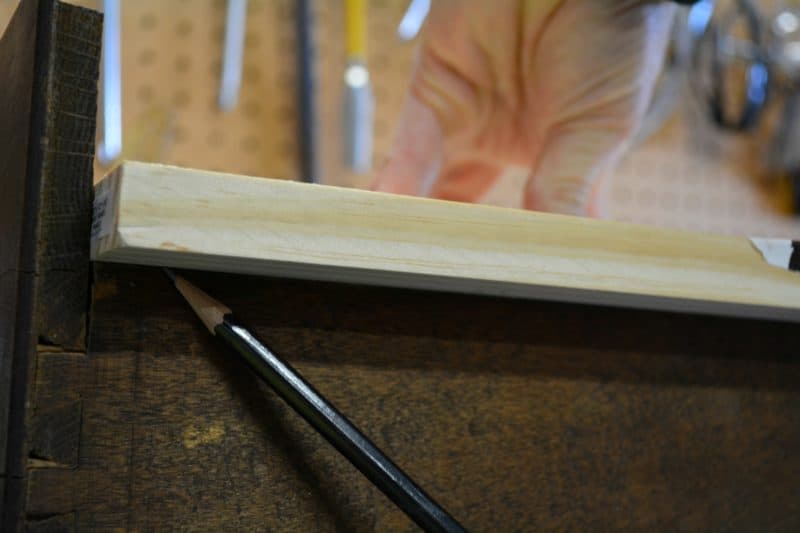
- It was easier for our project to cut the length, than lay on top of the drawer, using a pencil to mark where the sides needed to be cut down.
- Cut two strips of wood to match the length of the board. These will be added later to keep the lid secure on top of the drawer
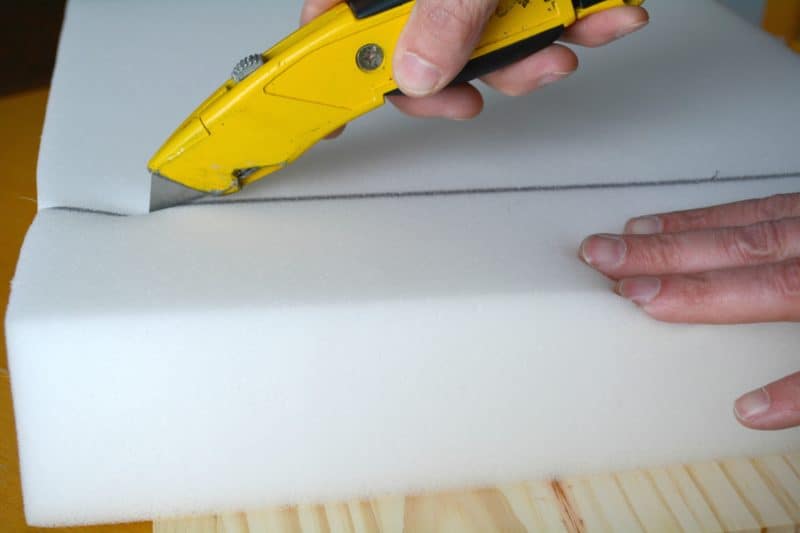
- Once the wood is cut, lay the large piece on top of the foam. Use a marker to outline the wood, then use a utility knife to cut the edges off. This will take several passes with your knife
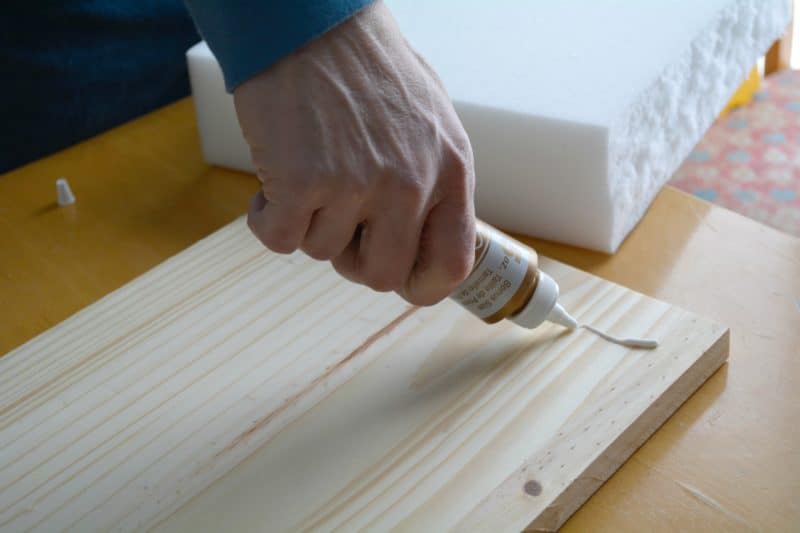
- Glue the foam onto the wood
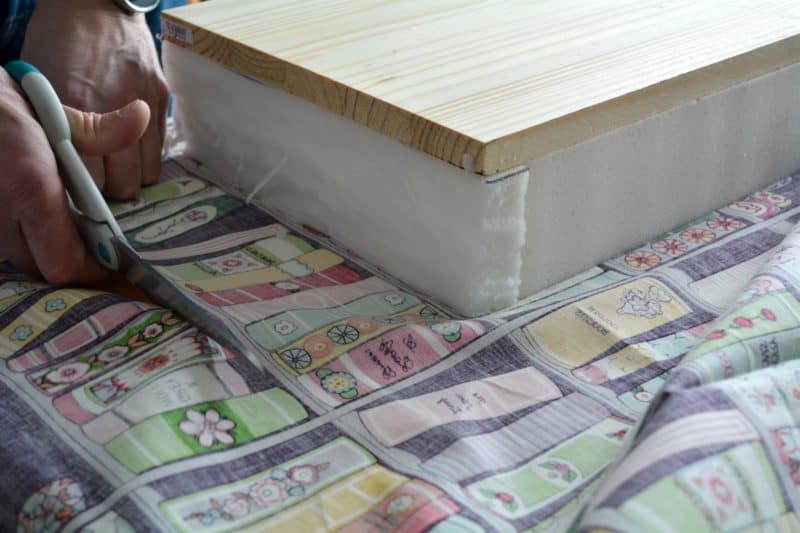
- Lay out the fabric and set the foam on top, wood side up. Pull up the sides to mark where you’ll need to cut the material.
- The important part: you will need at least 1” that folds along the top of the wood/foam block, where it’ll be stapled. The fabric will wrap around, similar to wrapping a present.
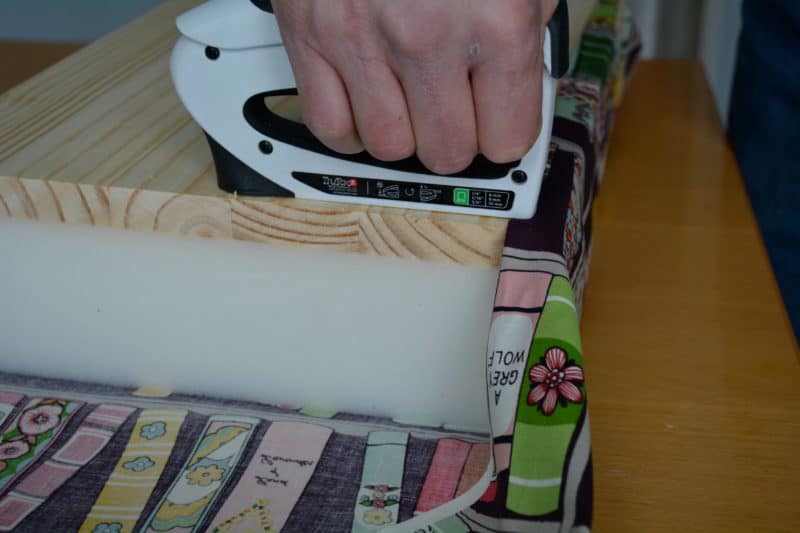
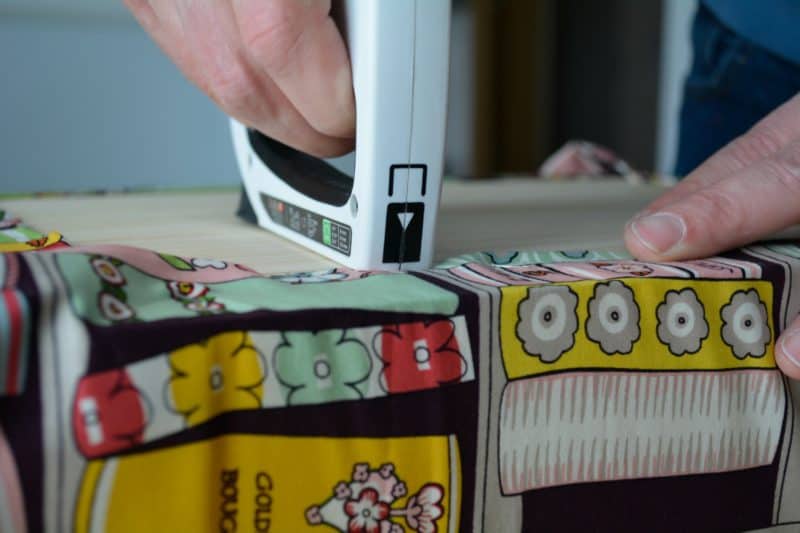
- Folding up the fabric over the foam and onto the wood, use a staple gun to secure it along the edges, taking care to keep the fabric straight.
- Keep the material pulled snug against the foam to avoid wrinkles. Work your way along the edges until the entire piece of fabric is secured to the wood, creating a custom cushion
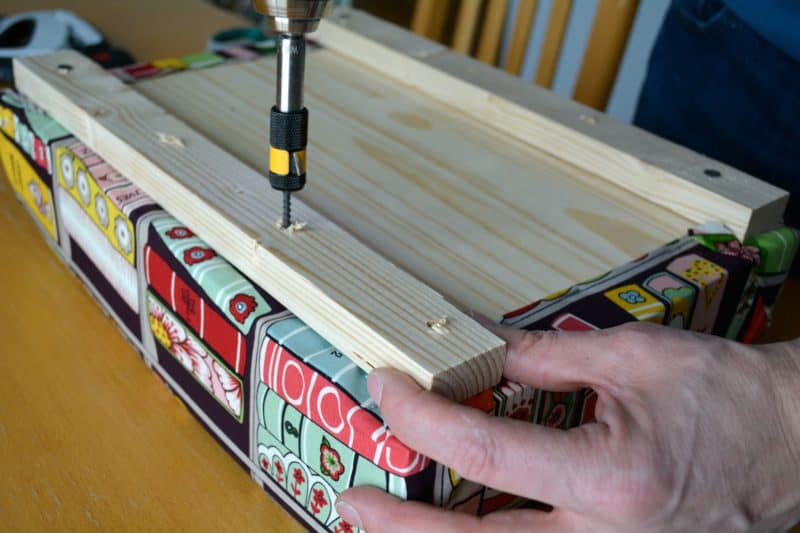
- Keeping the cushion upside down, prepare to attach the two strips of wood to the bottom. The strips will go lengthwise and need to be placed where they’ll fit JUST INSIDE of the drawer.
- The sole purpose of these strips is to keep the cushion stationary once placed on top of the drawer. They provide a “stopper” to make it fit snugly when completed. Our strips were about ½’ from the edge
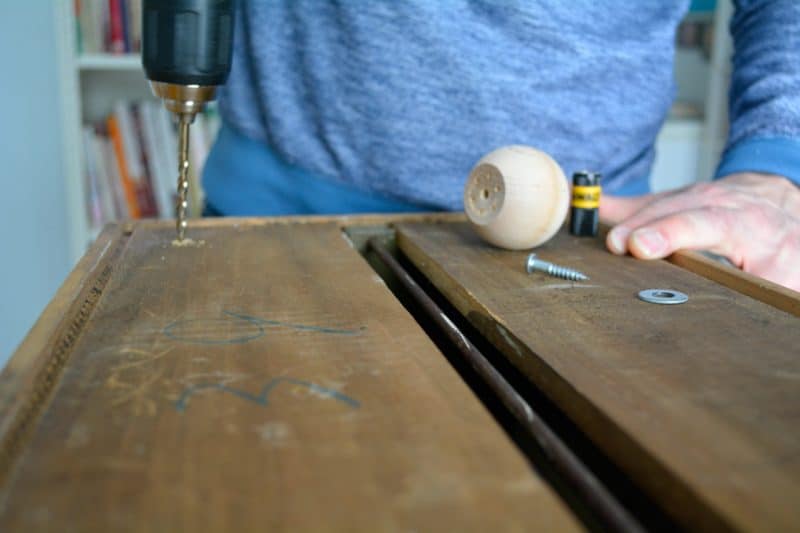
- Attach the feet to the bottom of the drawer. Our set came pre-drilled. From the inside, we drilled a hole allowing the screw to go through. This allowed it to be secured to the wooden foot on the other side.
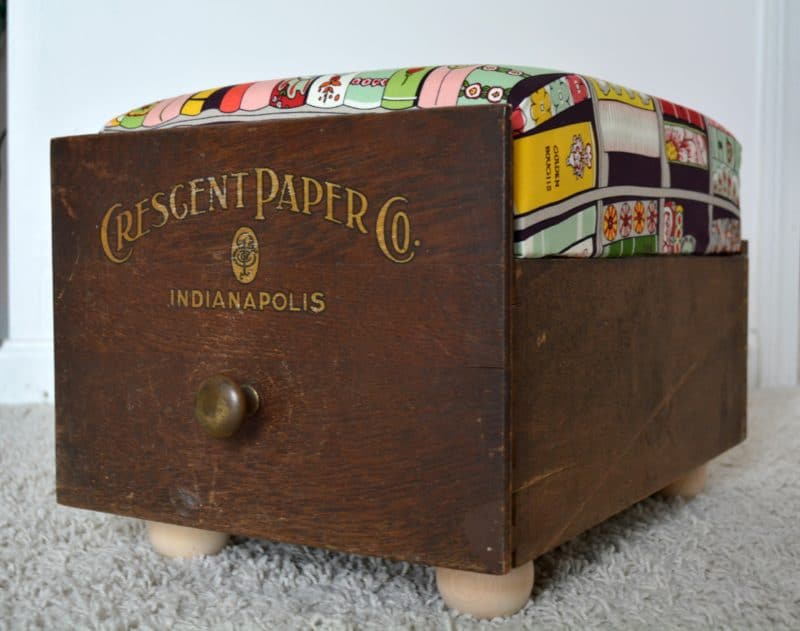
You are done!
Place the cushion on top of the drawer and your new footstool is ready to use. Be sure to send me a message and a photo…I’d love to see how you decorate your nest ♥.
Our homes are such intimate places of refuge, and while stores sell lovely new pieces? The ones you create, the imperfect and personal things…they are what make us feel the best.
Because they represent a piece of us; one of a kind and totally unique.