
How to Bible Journal for beginners using photo stickers

How to Bible Journal for beginners using photo stickers
I want to share a super fun Bible Journaling technique with you today, that allows you to create a personalized page with your own photo.
Based on the 38 million+ hits on Google when I typed in “Bible journaling“, this art form has really taken root! That my friends, is exciting.
When any artistic venture includes a form of worship, it is a double win in my book.
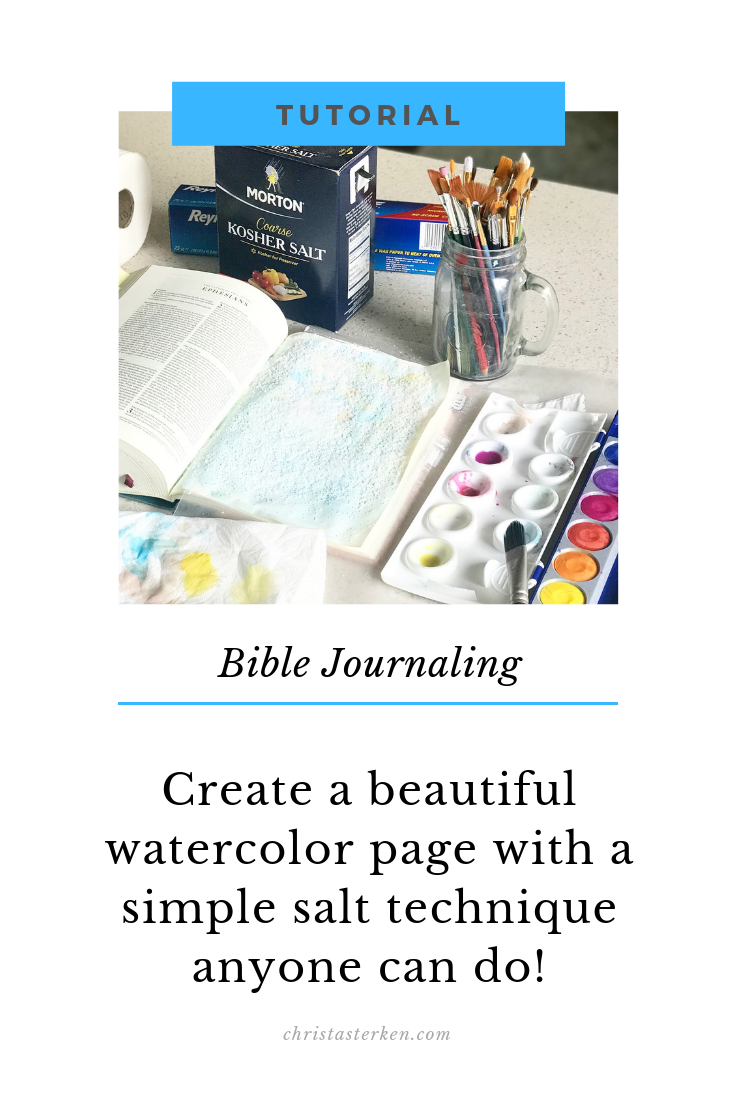
You can see my original post on Bible journaling here, along with my favorite technique here, but today I want to share a fun (and easy) way to personalize your work with a photo.
*Disclosure: I only recommend products I would use myself. This post may contain affiliate links that at NO additional cost to you, may earn me a small commission to help support this blog. Read full privacy policy here.
How to create photo stickers for your Bible journal
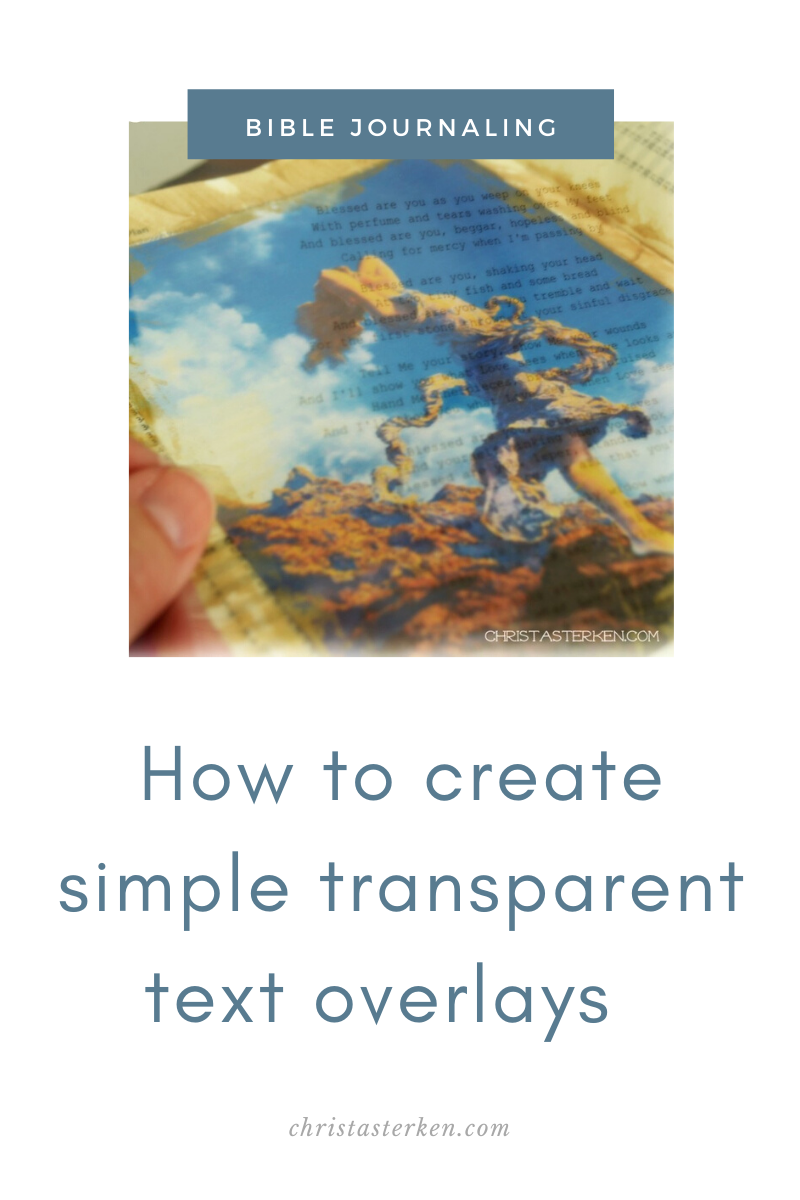
Adding your own photos to the Bible Journaling process is another way to cement the scripture to you and your unique interaction with God’s word.
A standard picture can be bulky, but with this method you can use the photo and still see the text underneath!
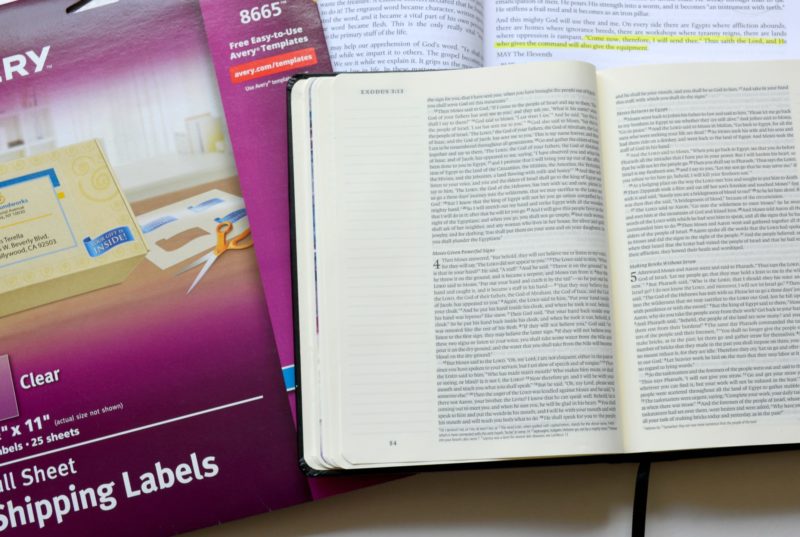
To create a transparent photo, I used Avery 8665 Clear Full Sheet Shipping Labels (easily found online or in the office supplies section)
It is so fast and simple. I really enjoy this process, and think you will too!
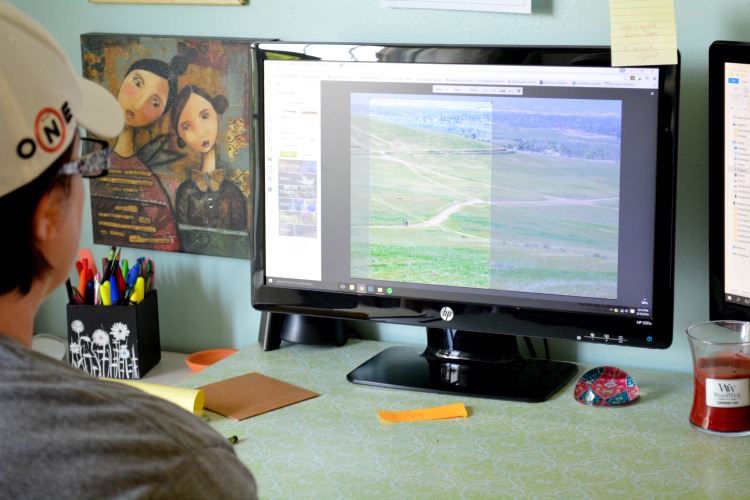
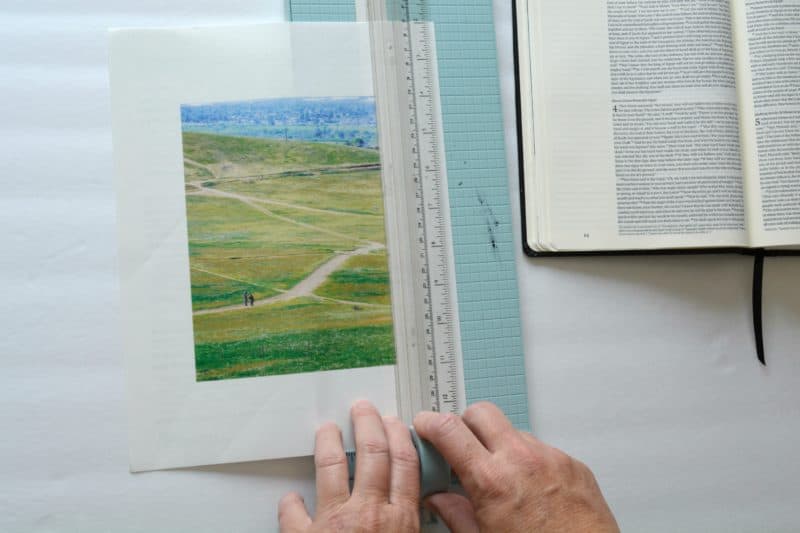
Choose the photo you want to use, and edit it to fit the Bible page. I chose 5×7 for this example, and that fits well in the ESV Journaling Bible.
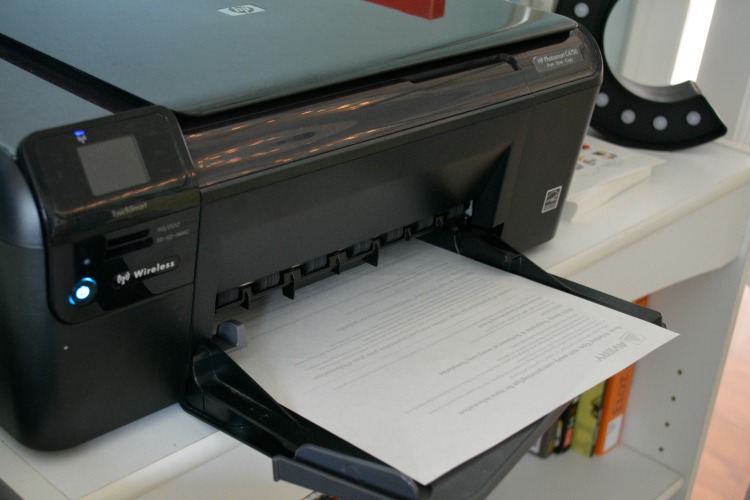
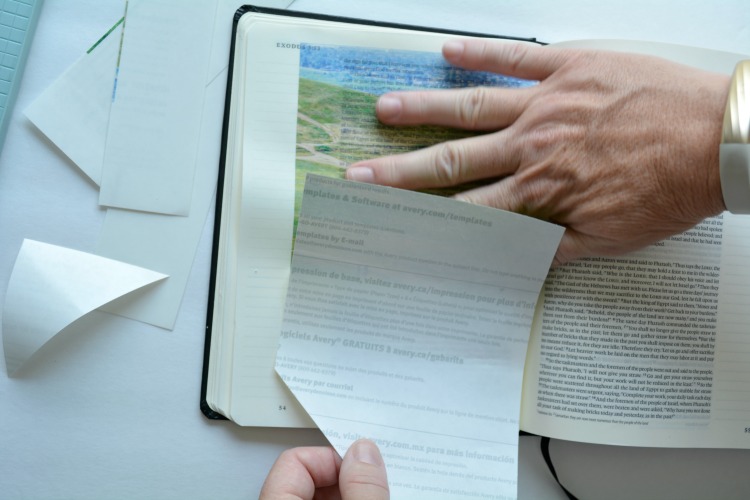
When printing, put the full sheet of the Avery label in, with the white side down. In my printer, you’ll see that the words on the back of the label are what is visible (first picture).
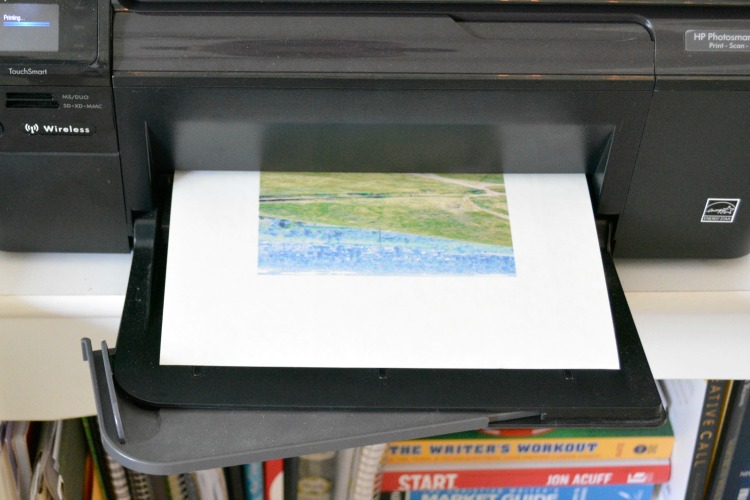
Make sure to check the printer settings, so they’ll match the size you are wanting to produce.
For example, even after editing, my printer was going to make the photo sheet full size. It was easy to just click on the correct size from the drop-down menu.
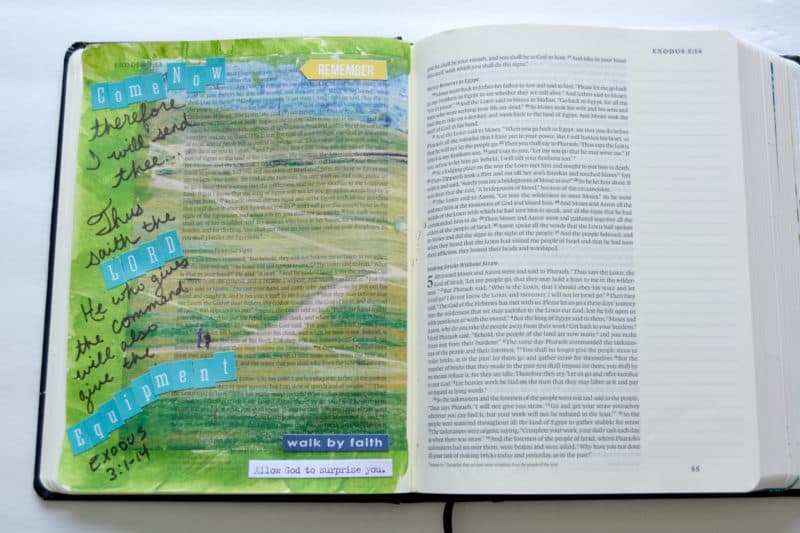
Next, choose a verse or phrase you’d like to have be the key focus of your page.
I chose a scripture that spoke to me about the next phase of my life. To remember that when God calls us to GO, he equips us for his purposes.
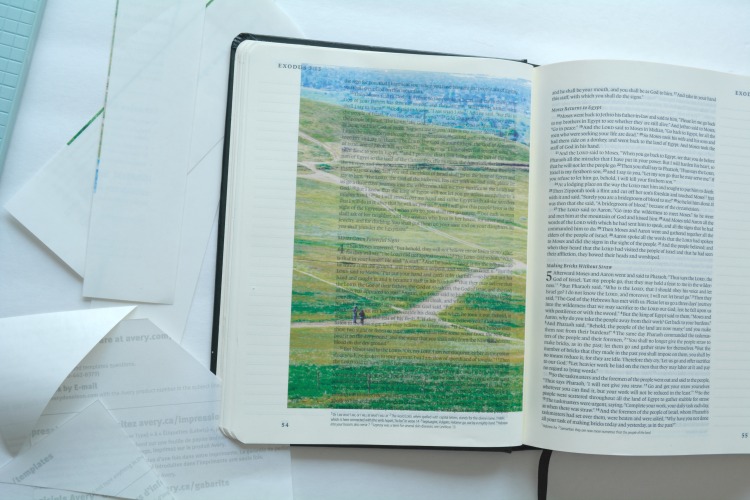
The photo I chose, shows my brother and me enjoying the view and choosing which path we wanted to take for a walk. It felt like a perfect fit for my current ponderings, and a reminder that God has my hand all the way.
Once the sticker prints, cut it down to the desired size, there will be extra white space along the edges.
The paper is nice and thick, don’t worry about accidentally tearing it.
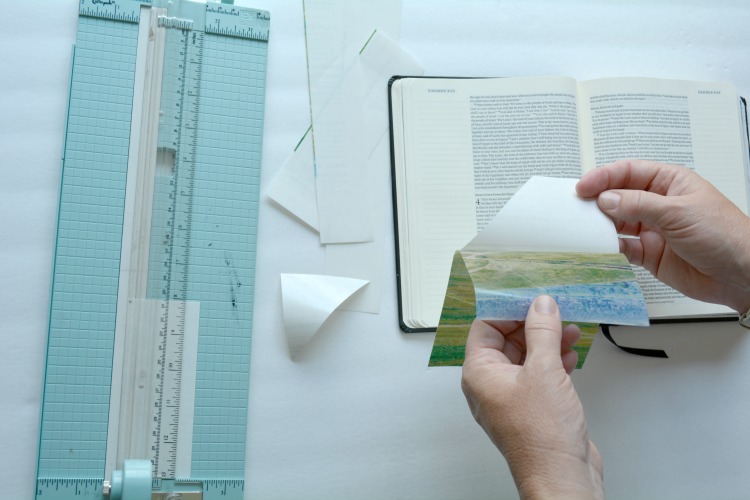
Gently peel off only the TOP of the picture.
We don’t want the photo to stick to the wrong areas. Once it is down, it really, really adheres.
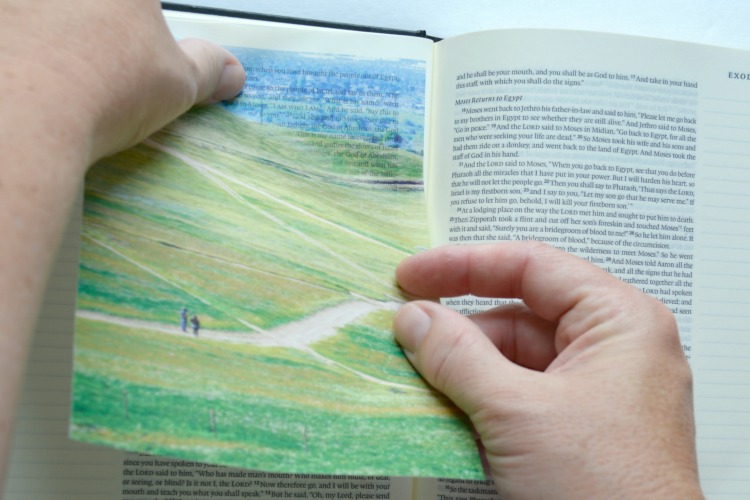
Gently line up and place the sticker on the corner of the page. Press firmly, and slowly peel off the paper backing.
Make sure the entire top side sticks, before evenly peeling off the rest of the backing.
Firmly hold down the already adhered portions, as you follow with the other hand behind it. Pressing down the sticker and smoothing it as you go.
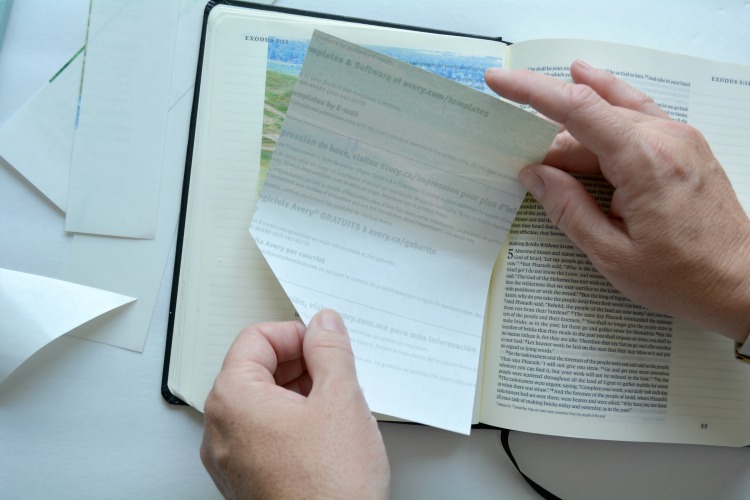
There you go! That slow peel ensures a nice, smooth finished photo. Talk about cheap bible journaling supplies!
See how the picture is beautifully colored, yet the text is still readable behind it?
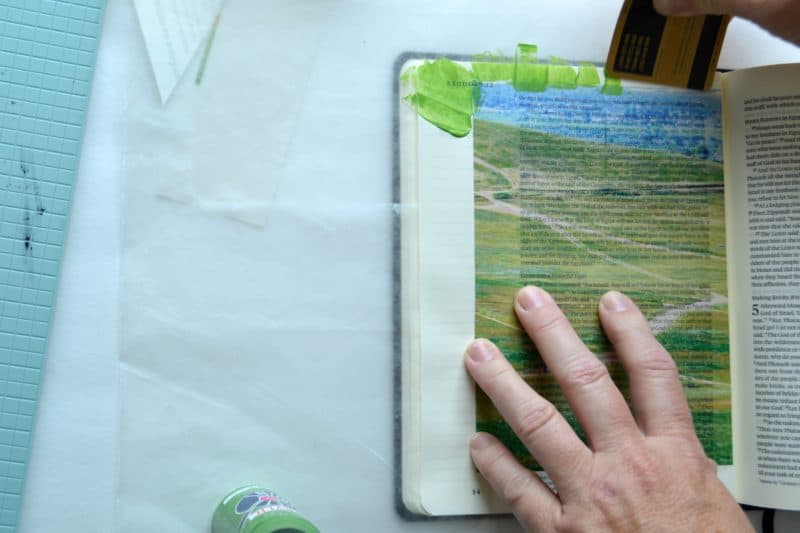
If you want to add a bit more to the page, it is fun to use acrylic paint and an old credit/gift card. Add a dab to a corner and simply spread it out along the edges. This goes with my passionate love of Wabi-Sabi.
Imperfect is PERFECT here, just enjoy the process! It is Wabi-Sabi Worship.
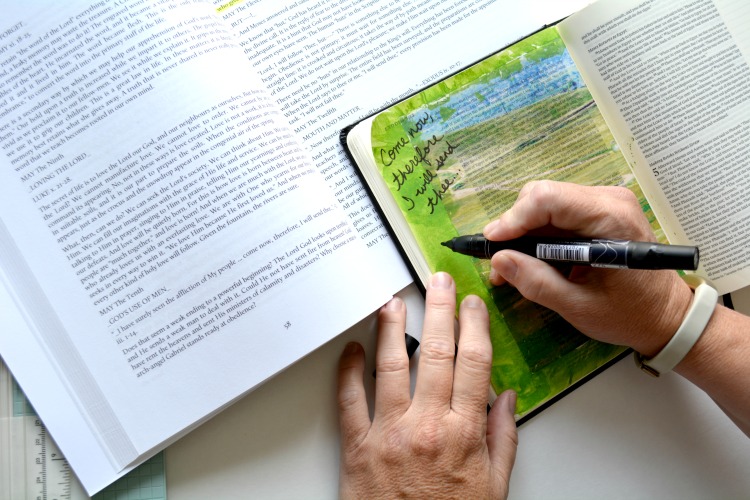
Once the paint dries, I chose to write out the verse, so that it will really stand out when I flip through my Bible again.
You can find the story in Exodus 3, where God is encouraging Moses to go forward and boldly approach Pharoah on behalf of the Lord and his People.
Add a few stickers or other ephemera if you would like; the finished product will be different every time.
Can you imagine trying this technique yourself? I’d love to see a photo if you would upload it to the comments.
Special thanks to my Mom for this post ♥. I’ll be honest with you friends. I’ve had an incredibly painful pinched nerve that has rendered my arm rather challenging to use. For weeks. We keep it real here, right?
She graciously shot my photos and has helped me immensely to be able to offer you something today.
I can’t wait to see how YOU incorporate this fun idea into your own projects…it isn’t just for Bible Journaling. This photo sheet could be the gateway to many new ideas!
More Bible journaling ideas
Want to check out some other Bible Journaling idea books that are really inspiring?
Faith Journaling by Stephanie Ackerman
Complete Guide to Bible Journaling: Creative Techniques to Express Your Faith by Joanne Fink
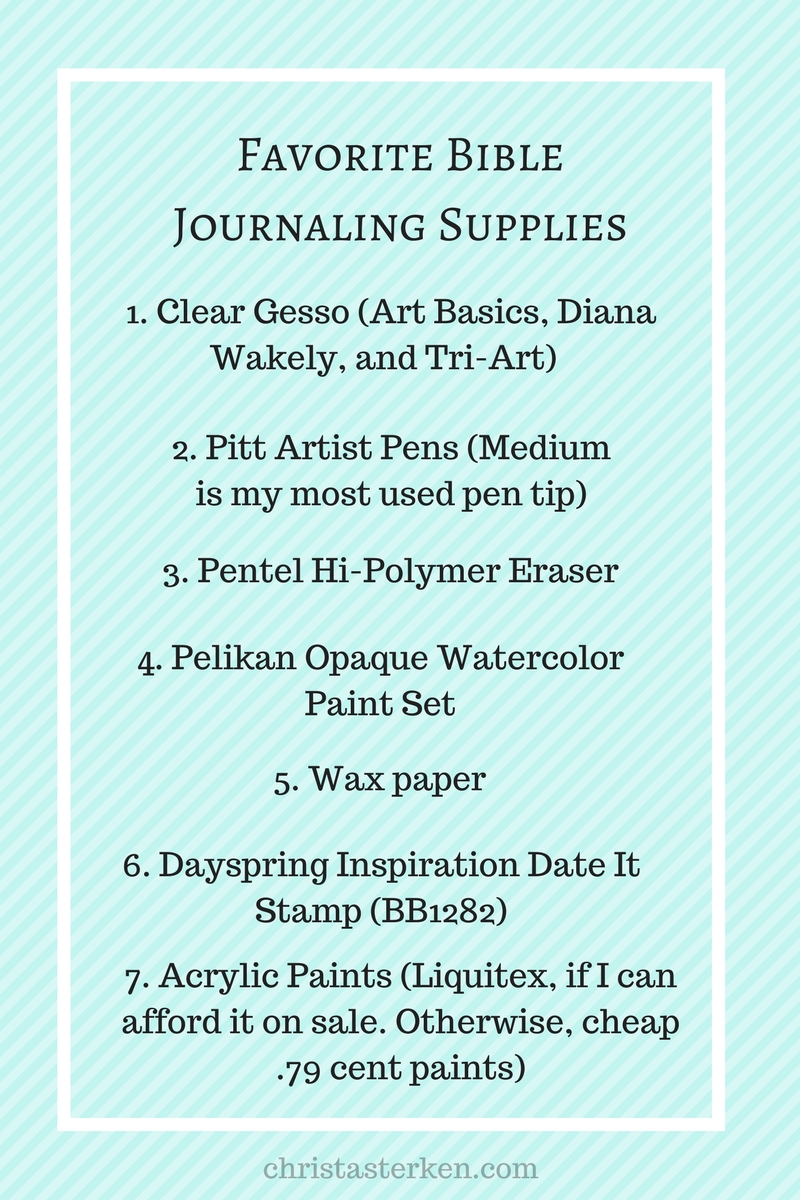
Here are a few other supplies I enjoy to complement all my other Bible journaling posts…remember, you don’t have to spend a lot of money! Check your house and make do with fun things you have if on a budget ♥:
-
- Clear gesso
- Pitt Artist Pens
- Hi Polymer eraser
- Pelikan watercolor paints
- Wax paper
- Date stamp
- Acrylic paints (any dollar bottle from a craft store works in a pinch. But, the truth is I have found the grittiness sometimes make the extra cost…they last FOREVER…worth it to have a smooth, sheer color)


Have you noticed a difference between Matte and glossy clear sticker pages?
Sorry for the long delay! In all things I like glossy EXCEPT this project 🙂 Matte works great. Hope that helps!