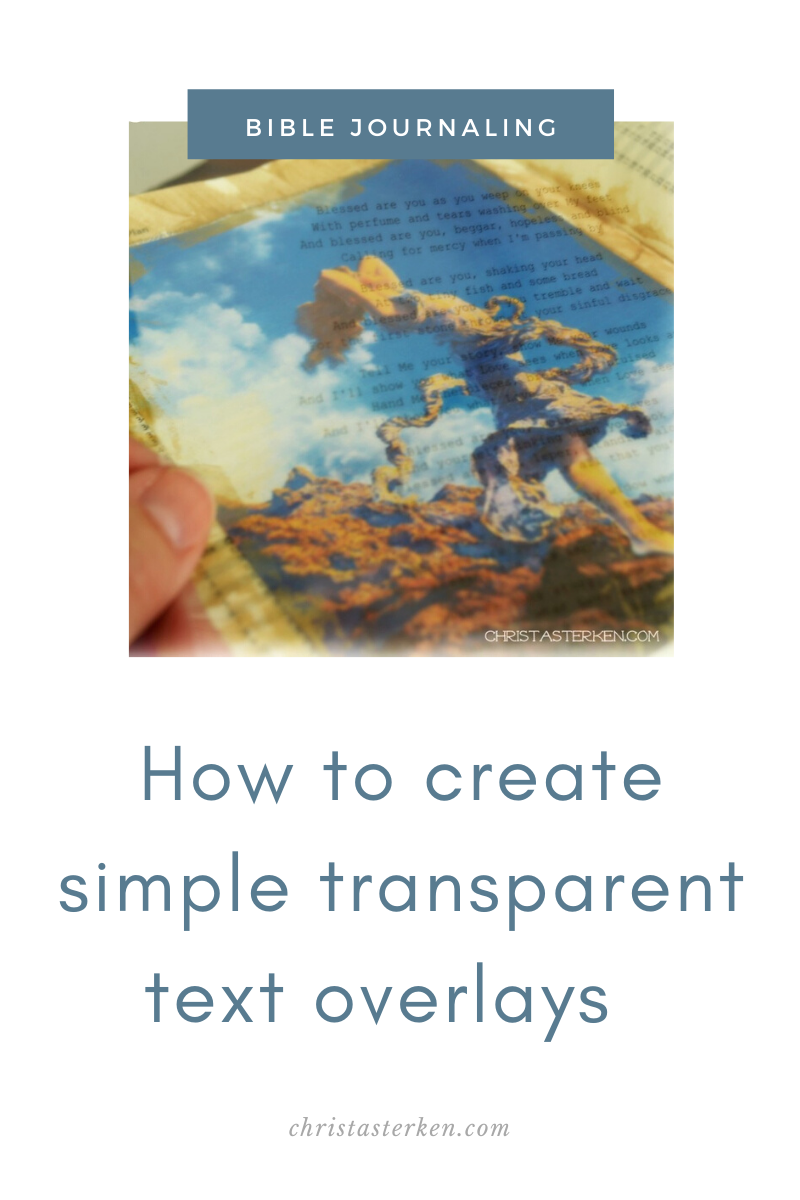
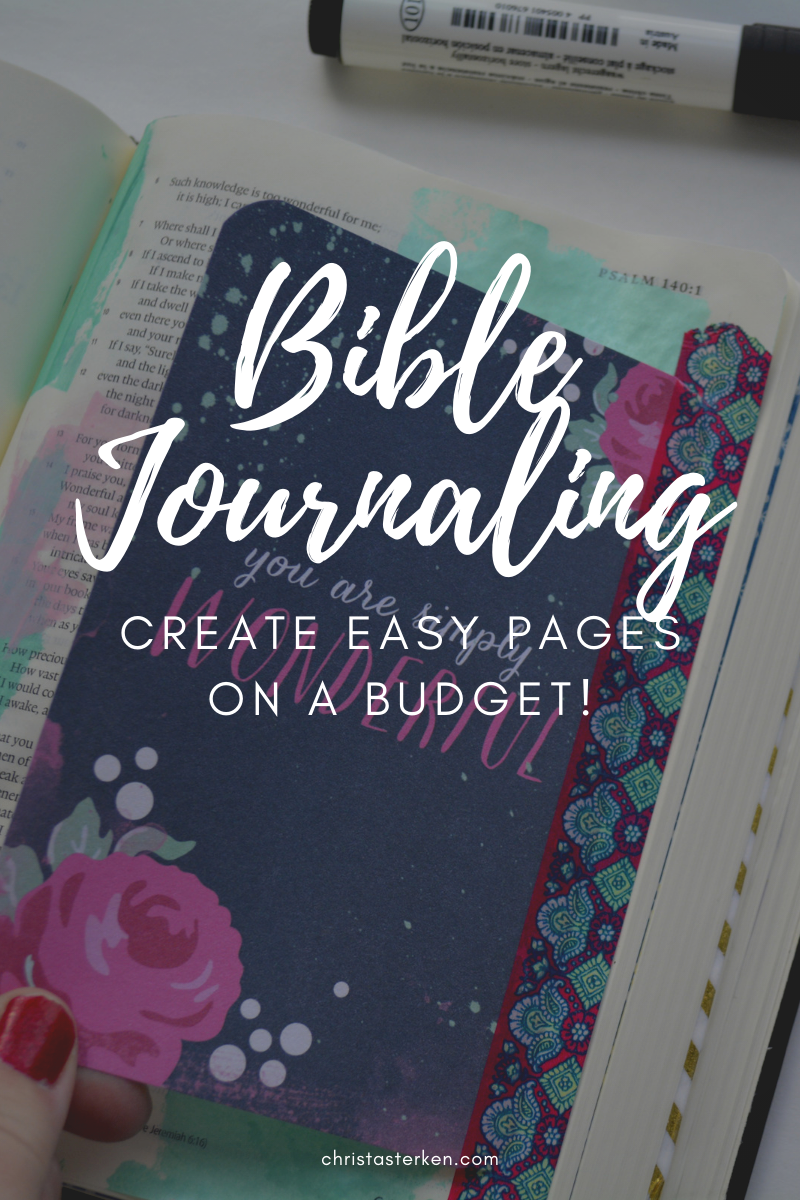
Simple bible journaling ideas using text overlays
You know how sometimes you see something…and there is an immediate sensation of recognition?
Of finding exactly what you were looking for, even if you didn’t know you needed it? That is how I felt the first time I was introduced to the concept of Bible journaling. I came across this post by Shanna Noel.
For an easily distracted sort, like myself, this was a perfect blend of creativity and faith. I’ve been doing this for less than a year, but get such joy from it, it’ll be a long-time pursuit. Most entries are fairly simple as I learn new techniques.
A friend shared a song with me, and the lyrics hit me in a deep place. A special piece of art by Maxfield Parrish has been my “soul” expression for decades.
They were a perfect combination.
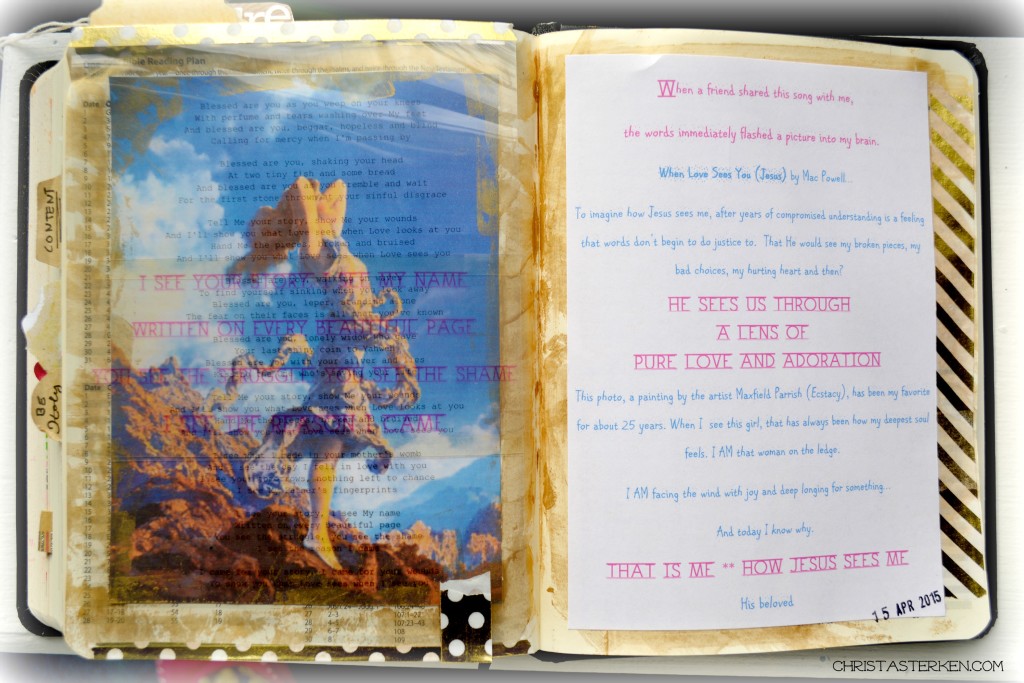
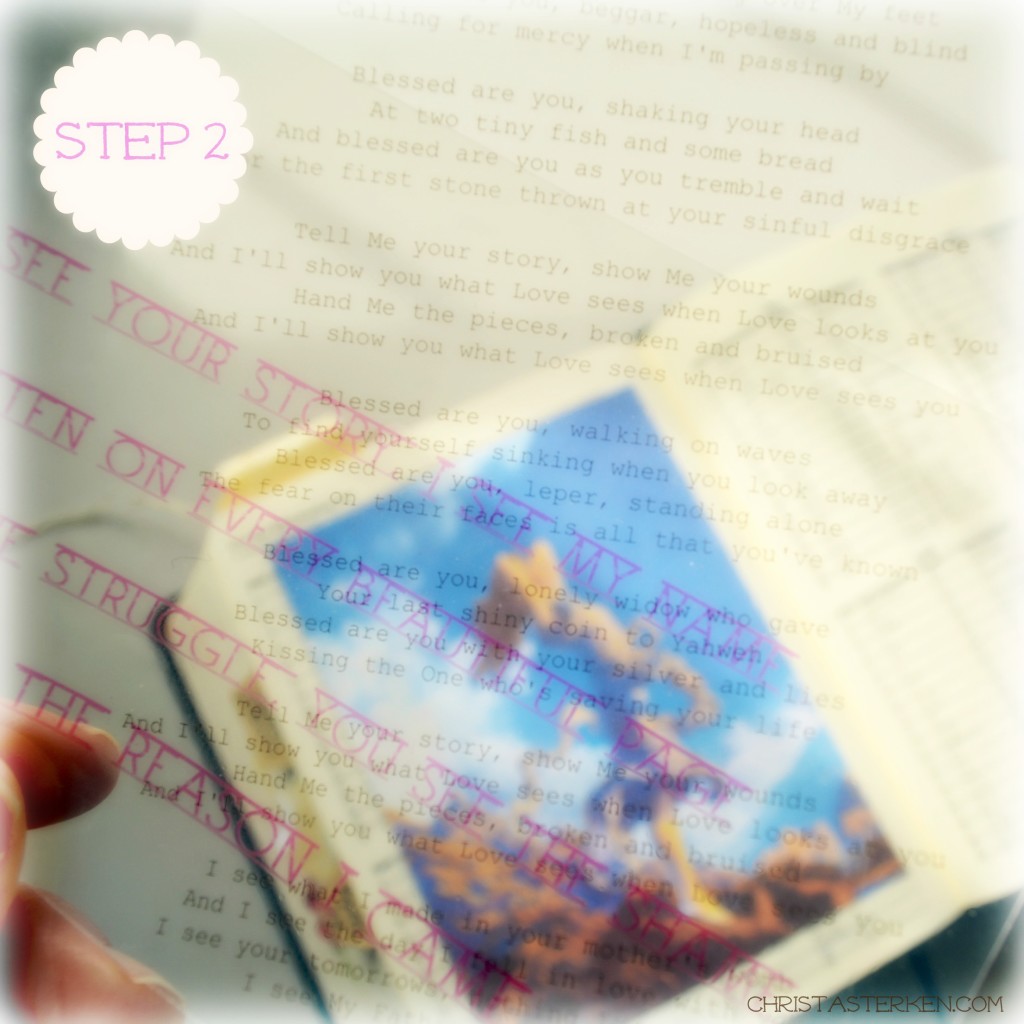
I was inspired to do a detailed entry using transparencies with text overlays. I love the way the song lyrics were less dramatic than the lines chosen to be accents, blown up on the center of the picture underneath.
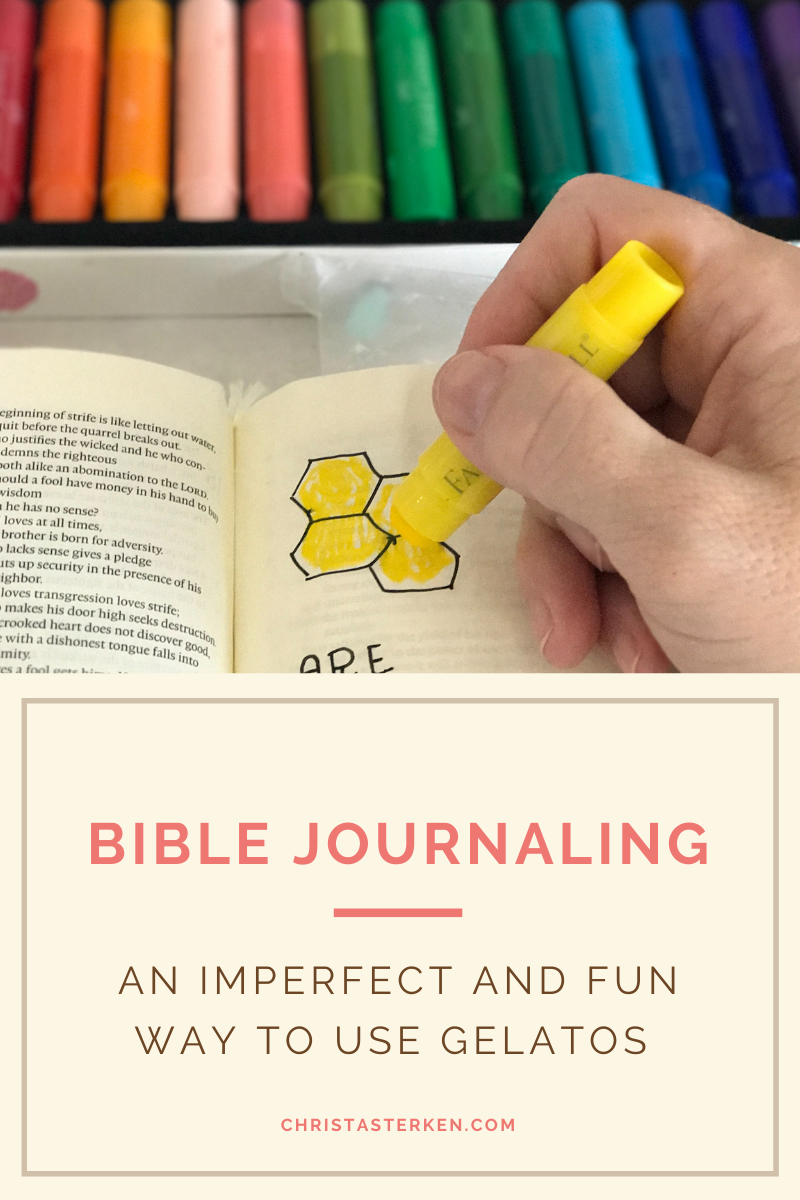
Don’t be afraid to experiment with bible journaling!
The looser you approach this, the more fun you’ll have. Mistakes can be made into something new. The beginning is the hardest part.
This layout was much easier than you might think. I broke it down into many steps JUST to show you specific details in case this is new to you. The whole layout came together very quickly.
How might you imagine using this technique?
*Disclosure: I only recommend products I would use myself. This post may contain affiliate links that at NO additional cost to you, may earn me a small commission to help support this blog. Read full privacy policy here.
How to do a creative bible journal page with overlays
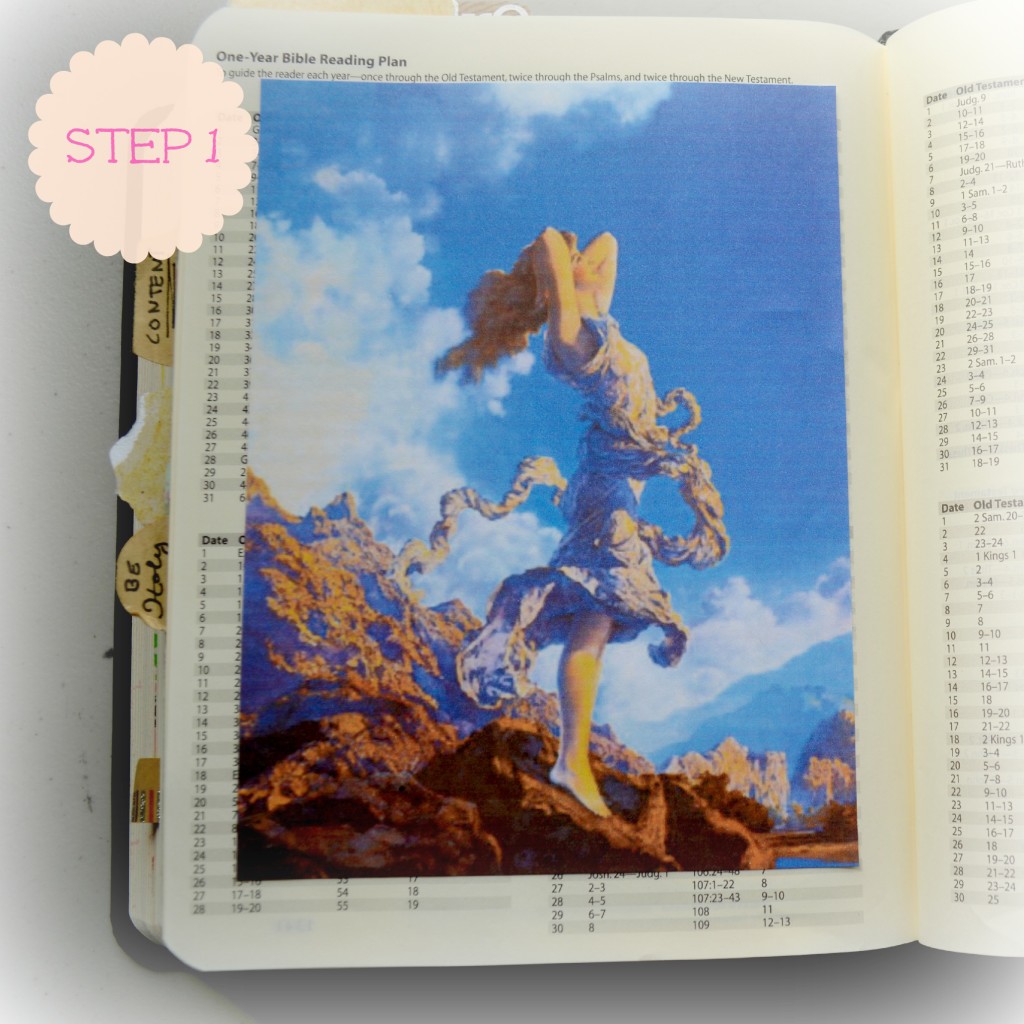
Choose a page that you won’t need to read later.
Print off your desired print and adhere to the page (I used a Scotch tape gun, but almost any adhesive would work like glue dots etc).
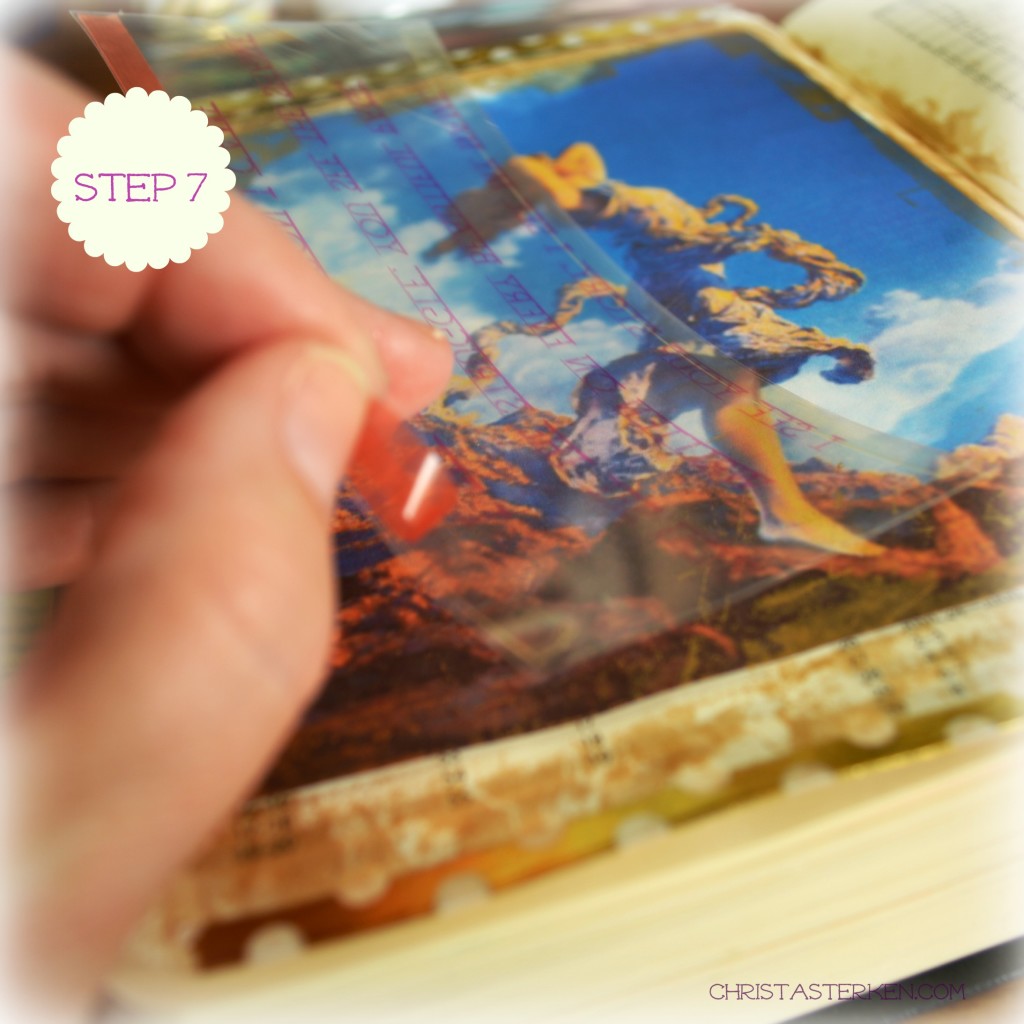
Using 8 1/2 x 11 sheets of transparency film (in school or office supplies) and print off your text. These are the two sheets in the photo.
Keep your hand along the bottom of the sheet to help it feed into the printer; sometimes the slickness makes it take a second to grab hold of.
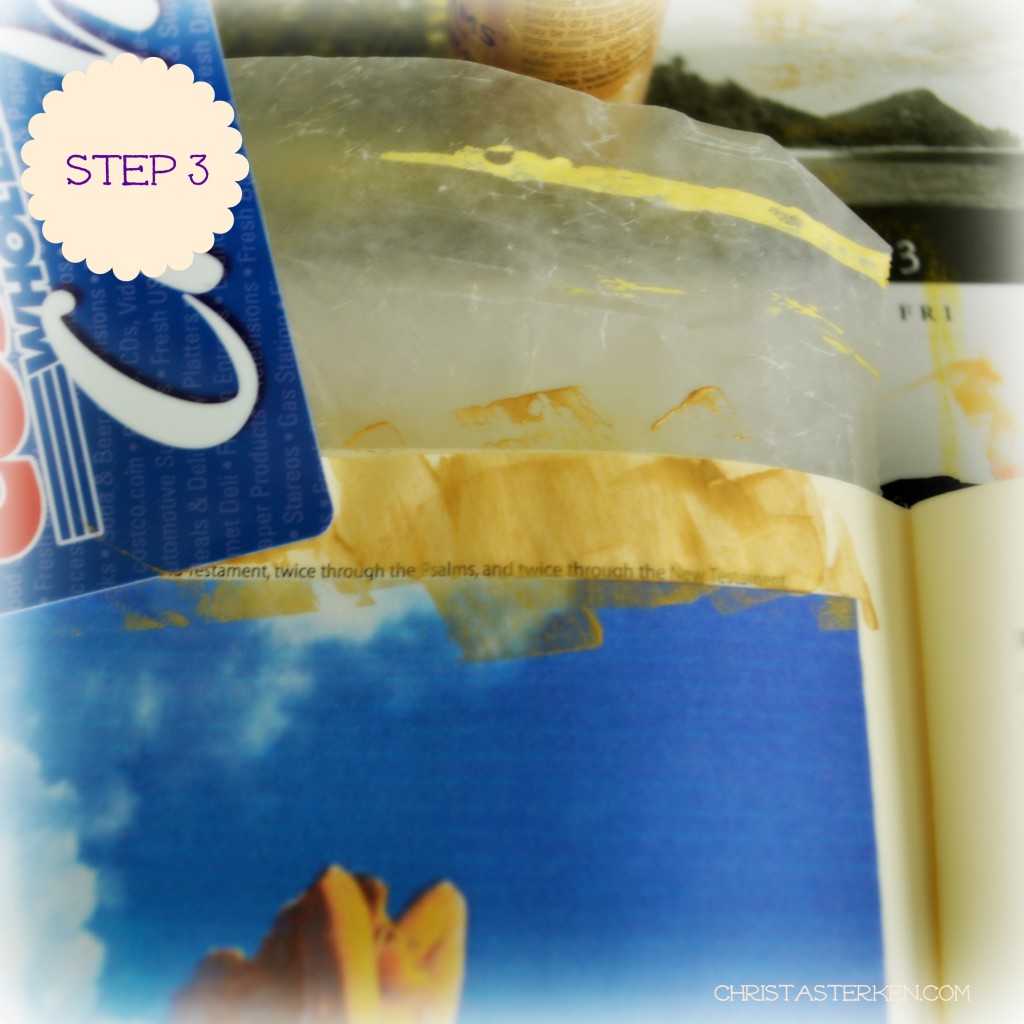
Place a sheet of waxed paper under the Bible page to protect the pages underneath. Paint the edges around the print. A brush would work well, but consider using an old gift card or room key.
Putting a small dot of paint on the edge, swipe outward. This method is so freestyle and impossible to mess up. Don’t worry about being uniform, just have fun with it.
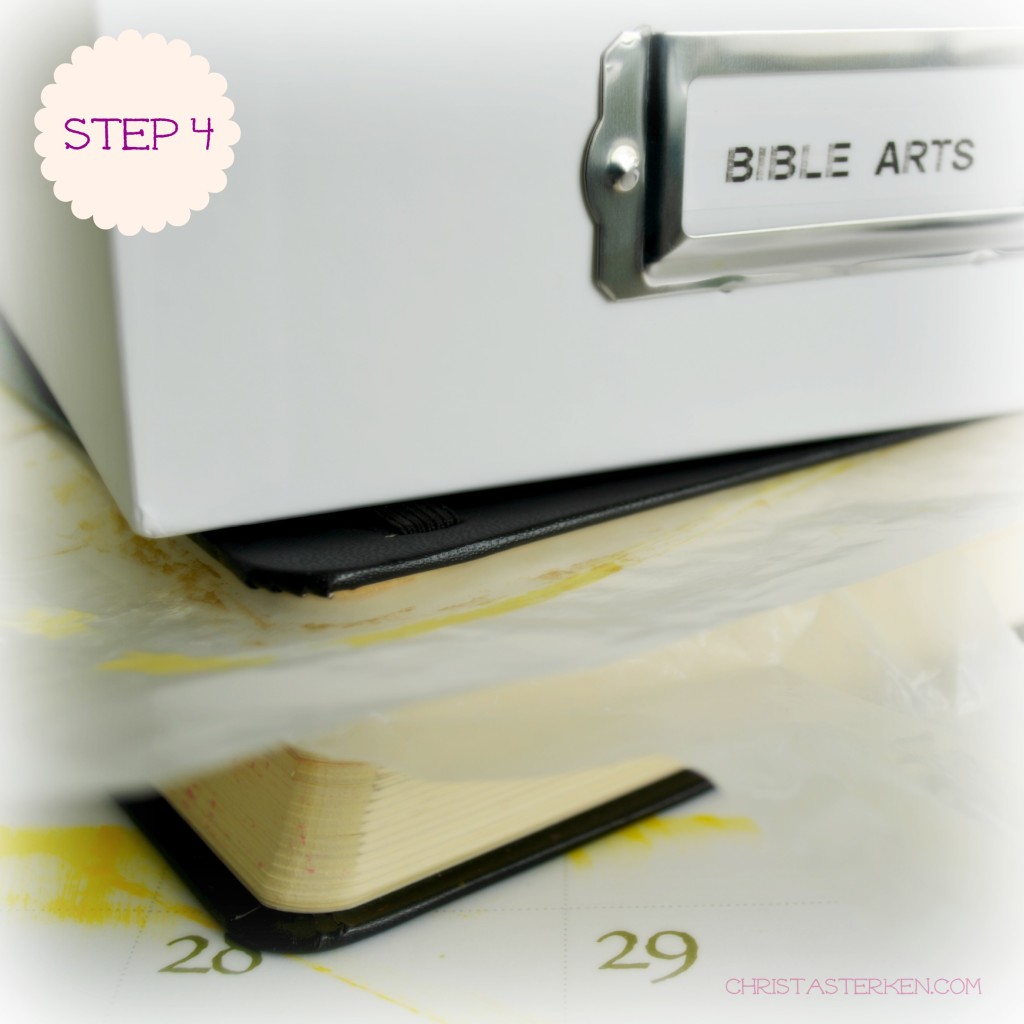
After I use paint, keeping a sheet of waxed paper on BOTH sides of the painted page, close the book, and set a heavy object on top for a few minutes.
This helps keep the page from excessive wrinkling. It might wrinkle a bit, but it adds a nice look as your book progresses.
It’s time to cut the first transparency to be approximately the same size as the picture that will be underneath. I chose to use the song lyrics.
Even though this is a personal book, it is good to record the artist’s name and song title to respect their work.
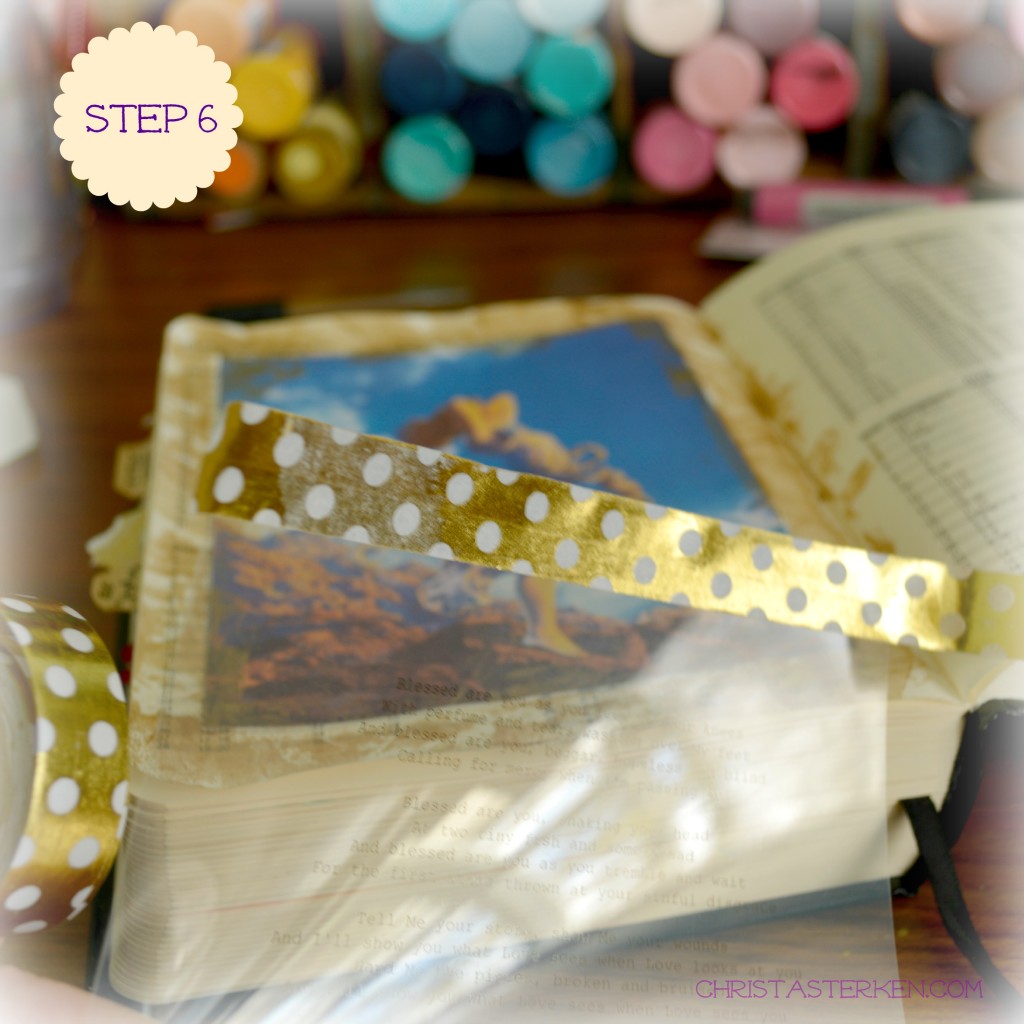
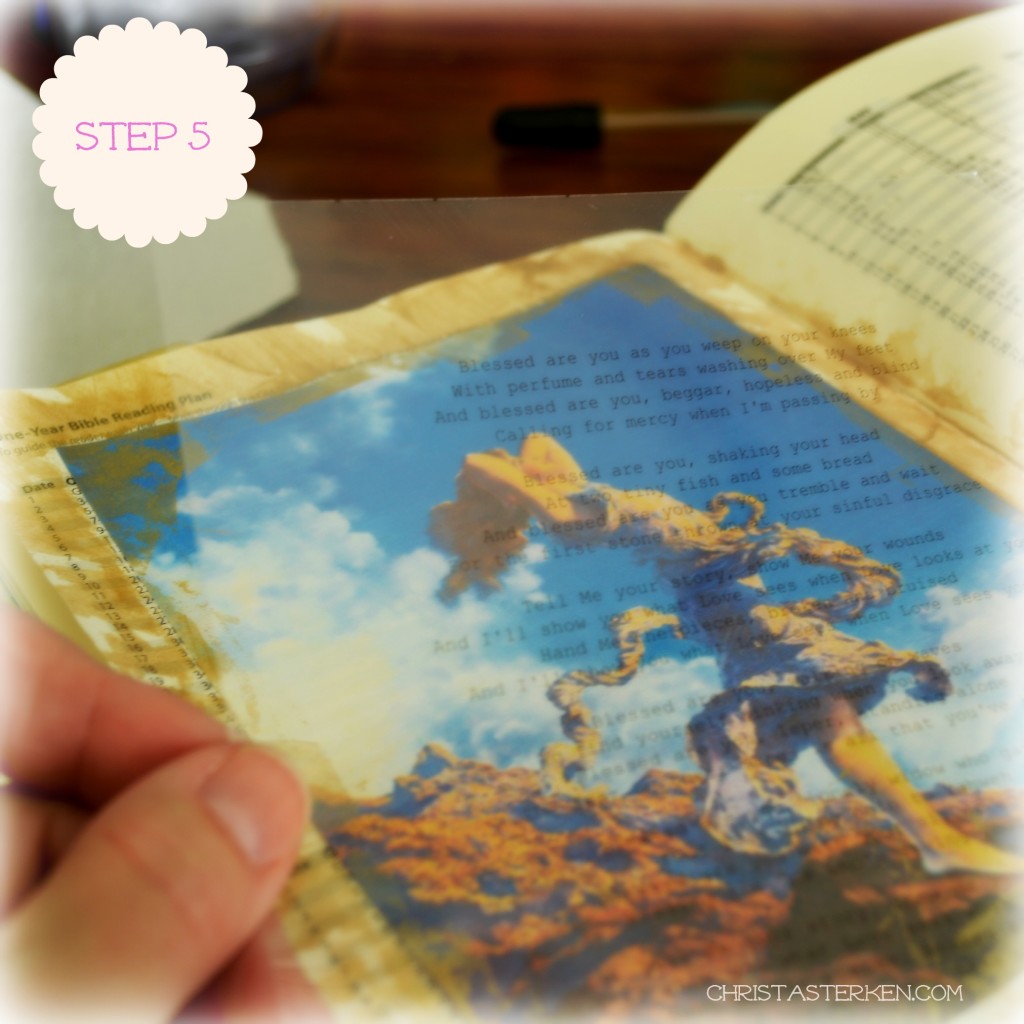
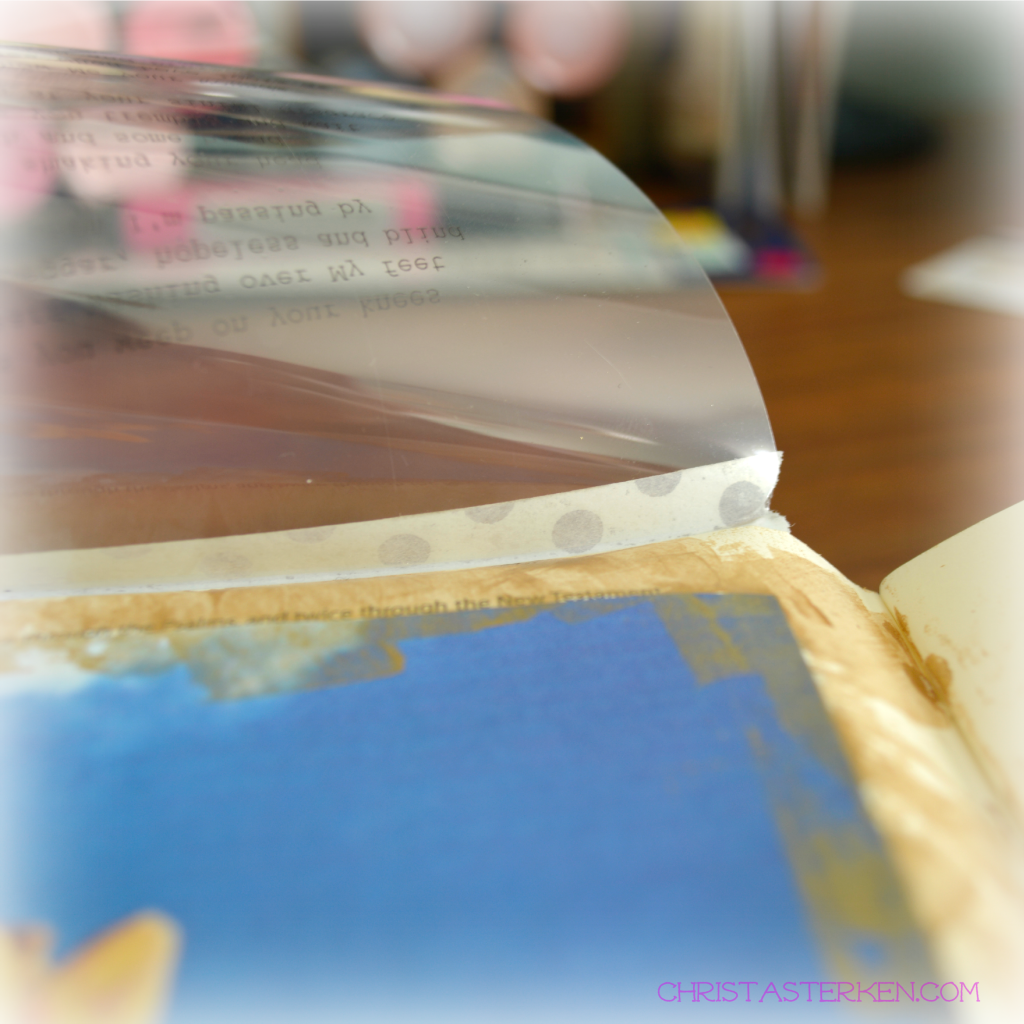
Place the sheet so HALF of the tape is still exposed. Laying the transparency down atop the picture, fold the extra half along the top of the page, so that the extra side is on the back of the Bible paper.
This creates a flap.
Here are a few more pictures to show you other views…
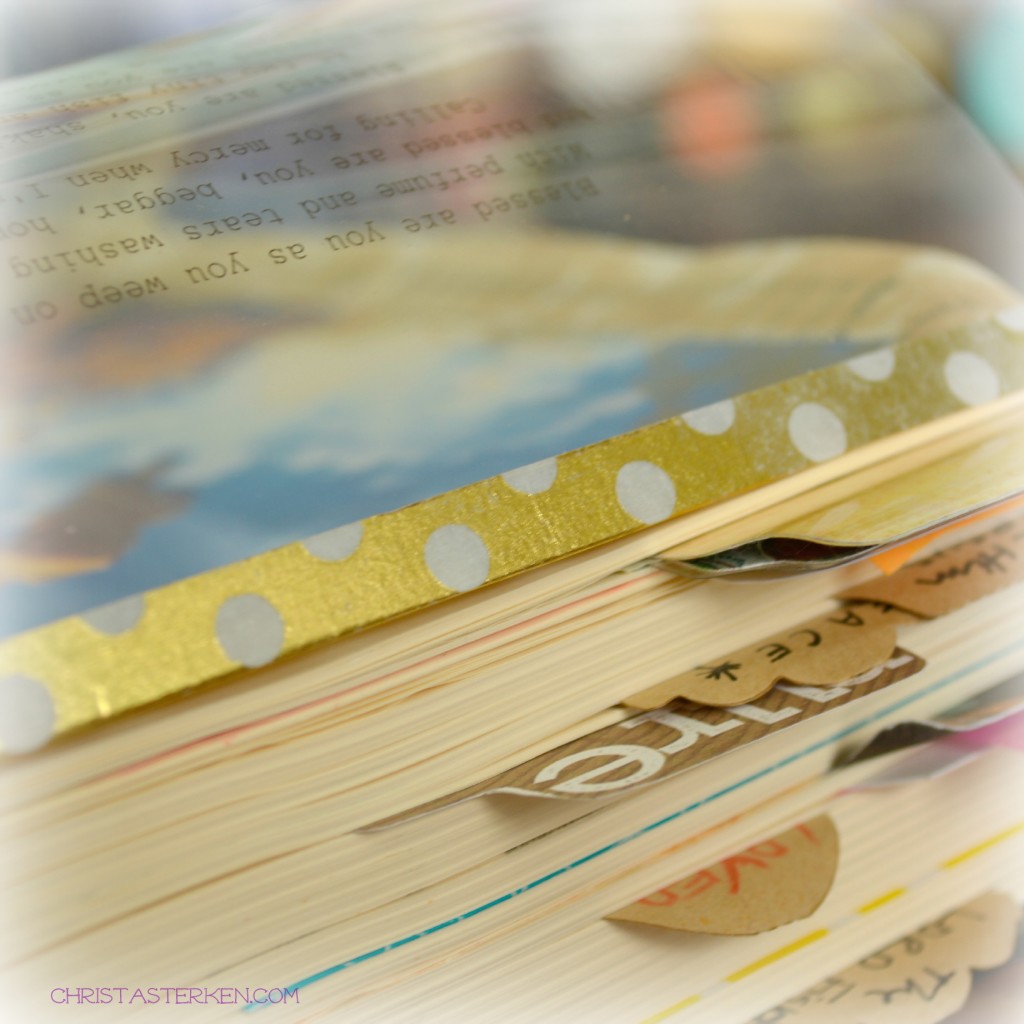
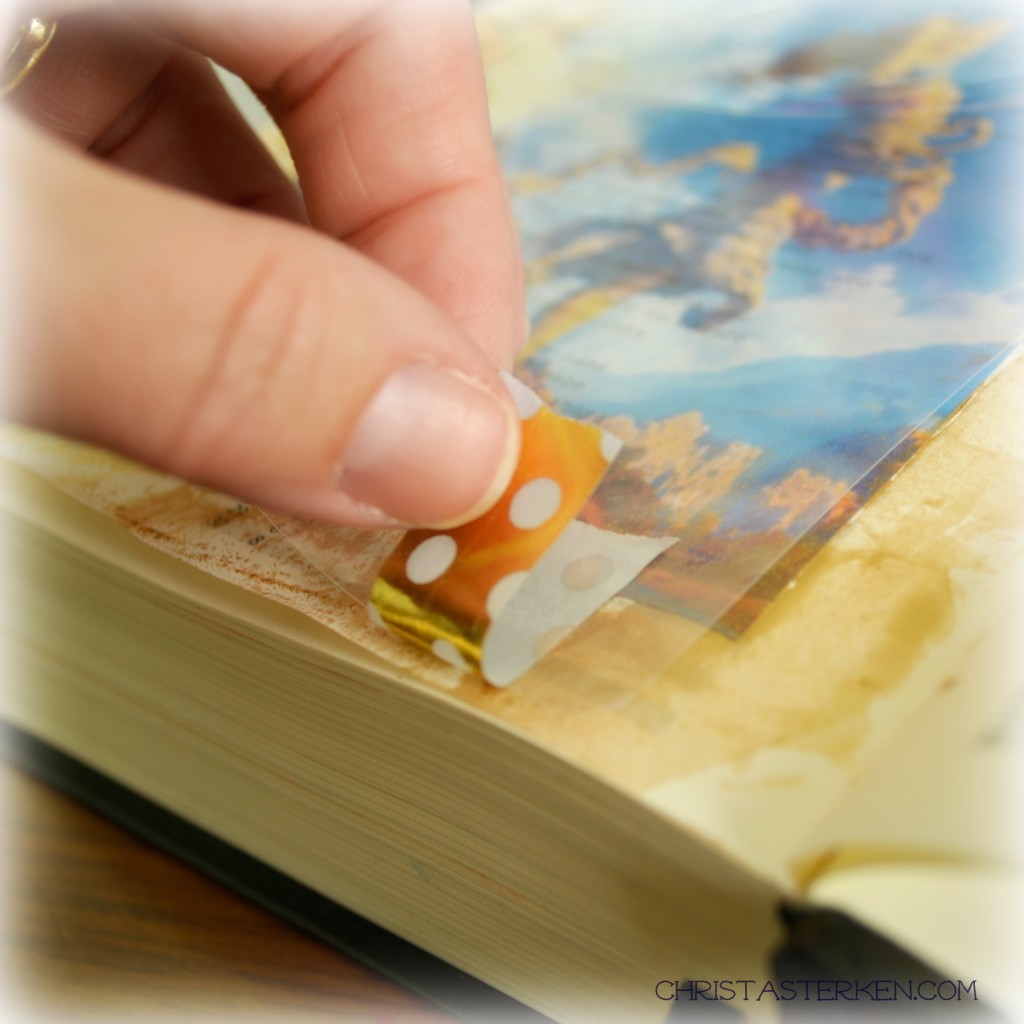
I used another strip of washi tape to reinforce under the flap crease AND on the other side of the paper. Just to add more strength.
Then, folding a piece in half, it is easy to create a tab to lift the transparency.
To accentuate words that were especially powerful to me, I chose a few song lyrics and enlarged them to place directly onto the picture.
Using strips of clear adhesive, (I used this but beware that it REALLY sticks, so be ready) I placed them onto the back of the text square and pressed them onto the center of the page.
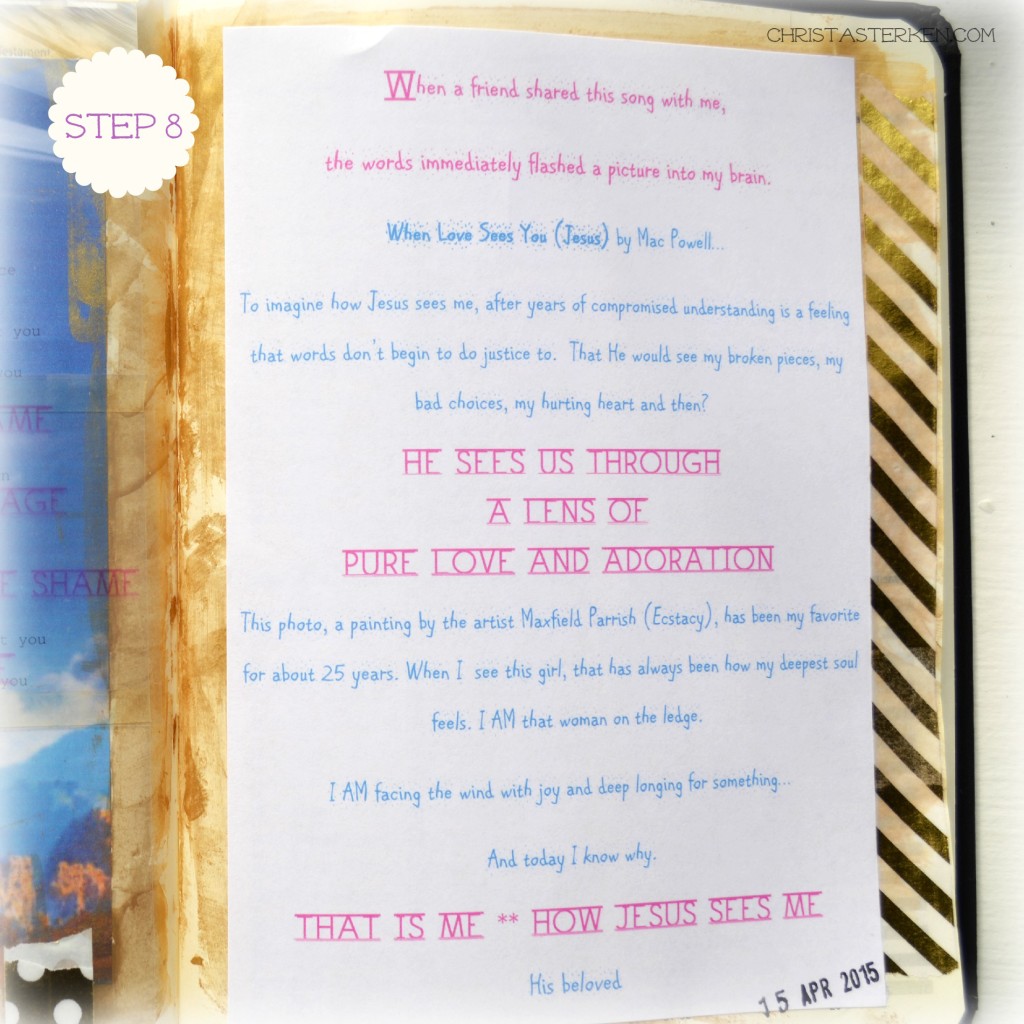
That is it! I used the opposite page to journal about the why behind this layout.
My version of Wabi-Sabi Worship.
Bible journaling has become a wonderful and personal way to rethink my quiet time. If you decide to give it a try, post a link in the comments to your design.
We’d all love to see your translation and application. If you are looking for ideas and tools for beginners, check out this post.

P.S.
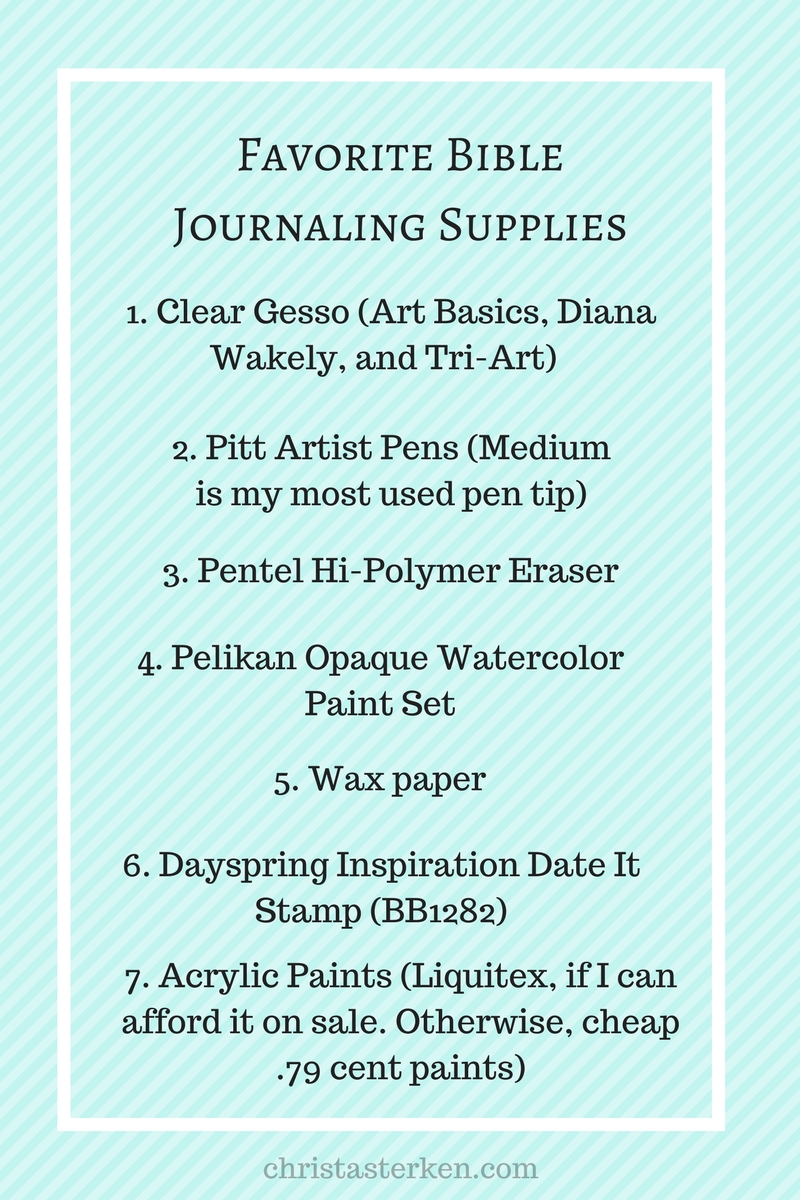
Here are a few other supplies I enjoy to complement all my other Bible journaling posts…remember, you don’t have to spend a lot of money! Check your house and make do with fun things you have if on a budget ♥:
-
- Clear gesso
- Pitt Artist Pens
- Hi Polymer eraser
- Pelikan watercolor paints
- Wax paper
- Date stamp
- Acrylic paints (any dollar bottle from a craft store works in a pinch. But, the truth is I have found the grittiness sometimes make the extra cost…they last FOREVER…worth it to have a smooth, sheer color)


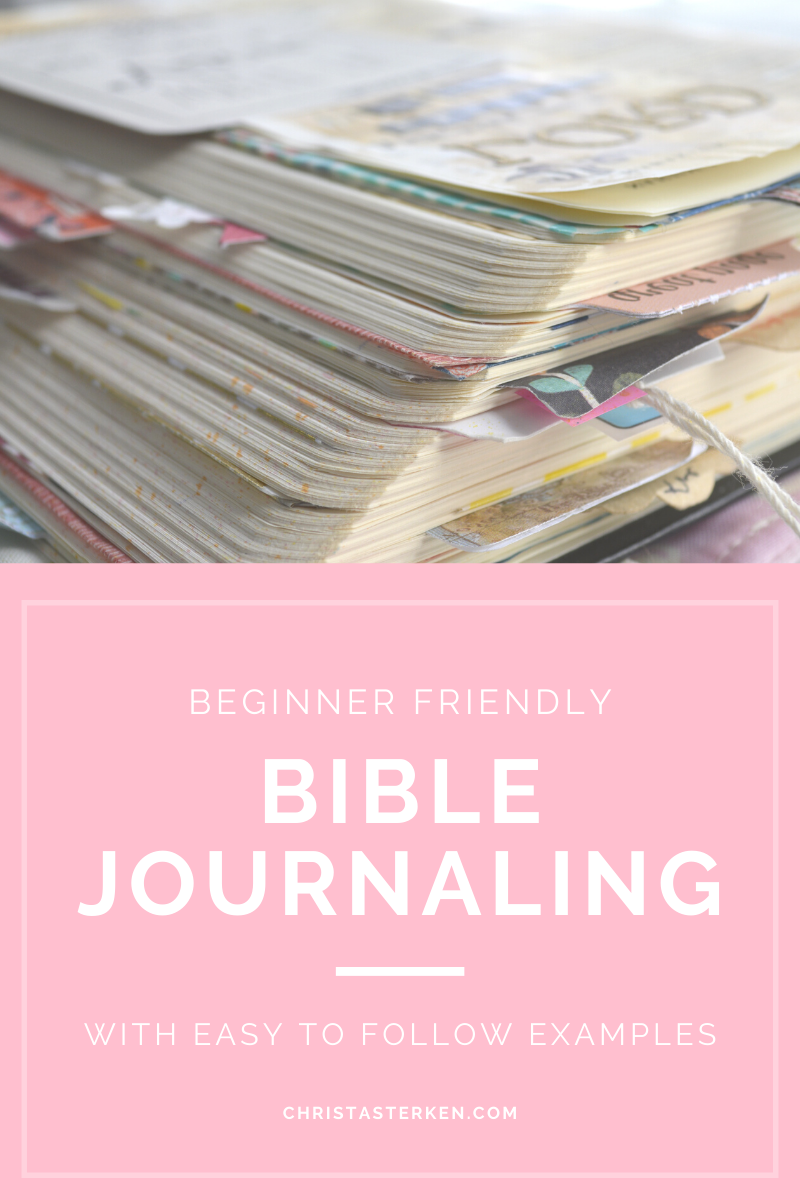
I just found your blog . I am new a bible journaling kind of…..why I say that I have brought many things but, have not started in my bible yet.
I hope you will find encouragement here to get started. It can be intimidating at first, but super fun and a great new way to spend time with God