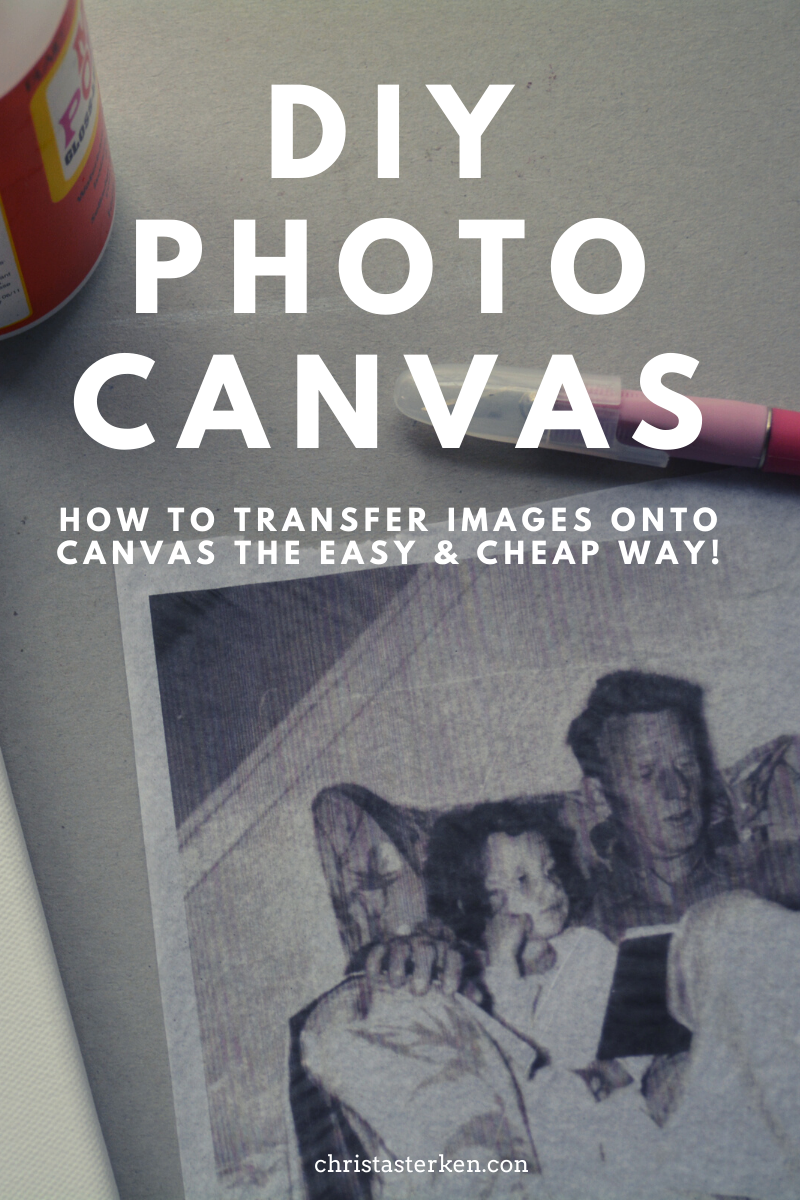
The internet is full of ideas showcasing the hot trend of Image Transferring. It involves simple ways of using favorite photos and transferring the scene onto various surfaces.
Wood, fabric, and even furniture make interesting mediums to showcase pictures.
While many methods involve a bit of elbow grease, this one is perfect for any DIY’ers. It is the easiest way I’ve found to create small image projects.
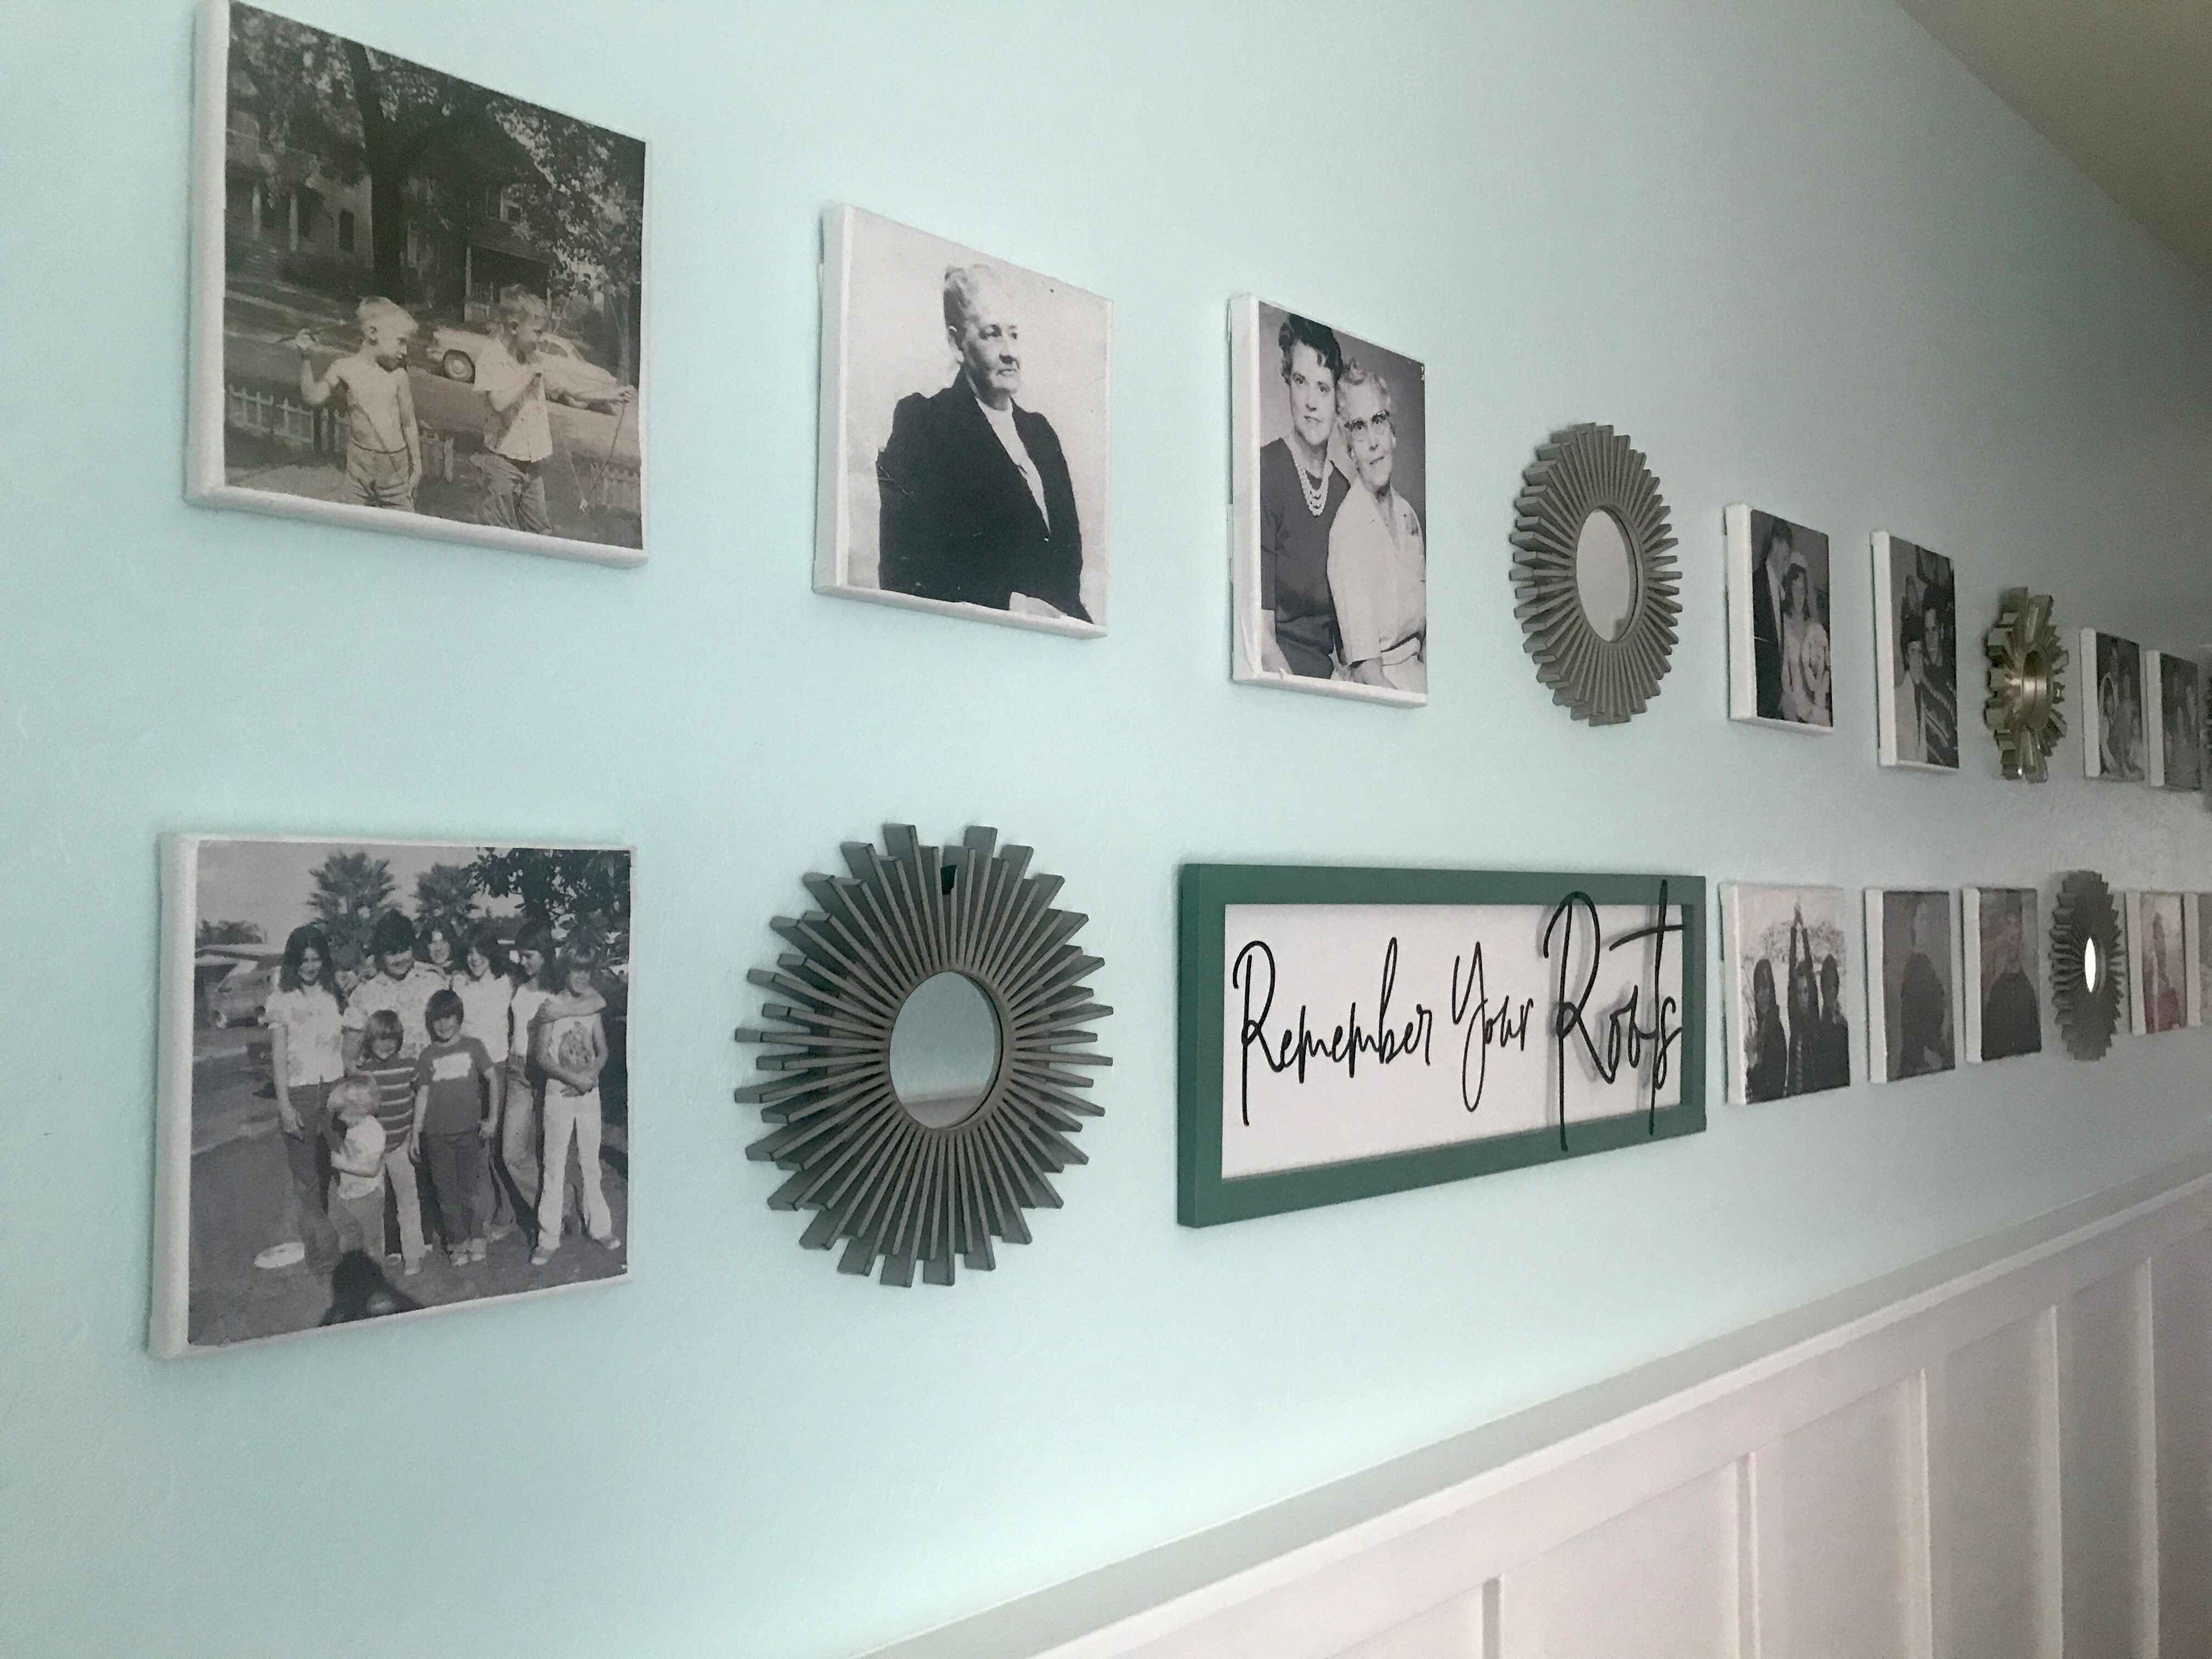
To create a gallery wall, I chose family photos that represent our history. Wanting my children to see the people we tell stories about, I chose a variety and made them black and white for a cohesive look.
Every family has a story. Instead of keeping them tucked away in dusty boxes, bring them out and display them!
Our wall now puts a face with the story of a young English boy who was put in a boy’s home, by a mother who couldn’t keep him. His intake photo reminds us of where we came from.
A great-great-grandmother who kept the farm running. Young love of parents and simple childhood moments.
The story begins to come alive.
The dimensional feel brings the pictures to life, and it is amazing how an average quality photo becomes a true art piece. Wrap a canvas in tissue paper and tie with a pretty ribbon, and your recipient will be delighted!
*Disclosure: I only recommend products I do/would use myself. This post may contain affiliate links that at NO additional cost to you, may earn me a small commission to help support this blog. Read full privacy policy here.
Directions to transfer photos to canvas
Prepare the pictures you’d like to use. For my gallery wall, I used seven 8×8 canvases, and two 8 x 10s. I edited the pictures using a software program called Canva(free online) to be cropped to the size I needed before printing.
If you are unsure how to do this and need help, simply take your original photo to Office Depot and ask them to make you a black and white copy in your desired size. For this project, ask for an inkjet copy
If there is text in your picture, reverse the image so that it will still look right once adhered to the canvas
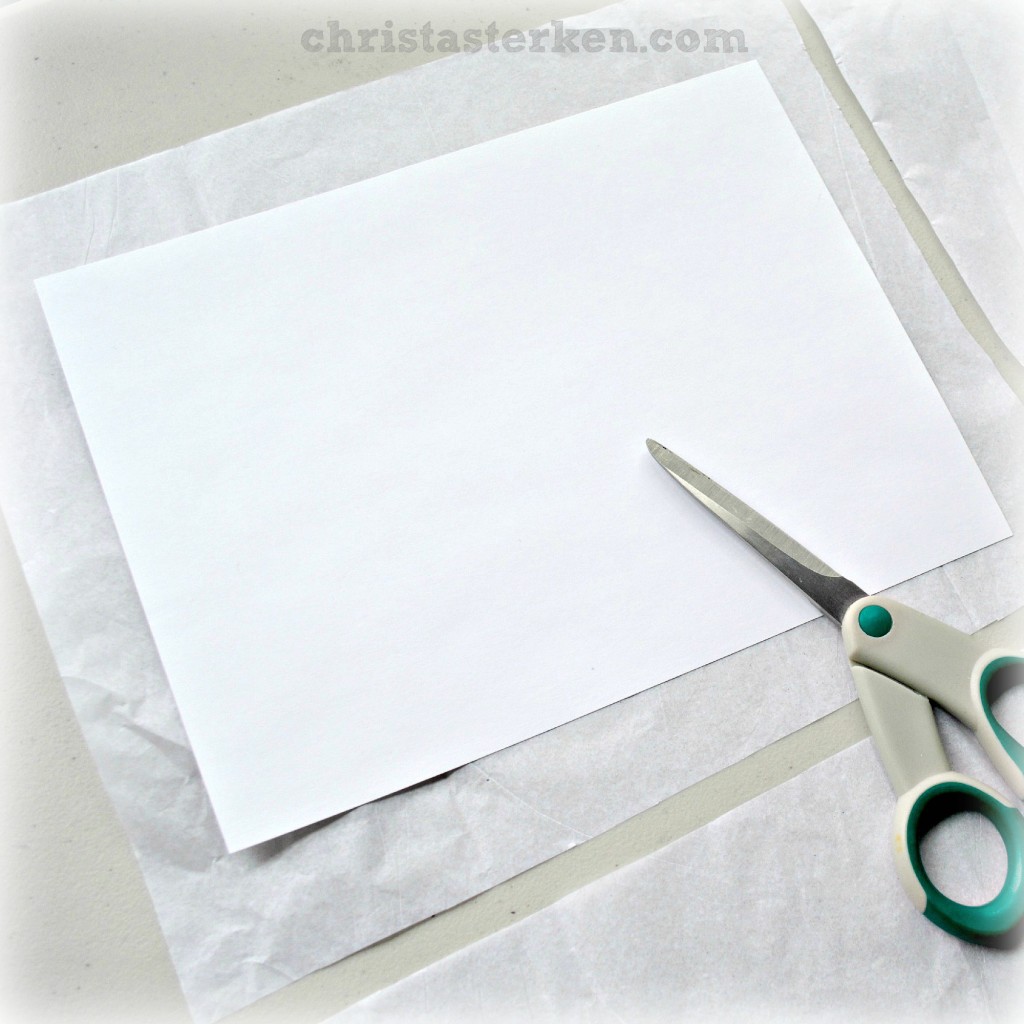
Lay out a single sheet of white tissue paper, the kind used for wrapping gifts. Place a piece of standard 8 ½ by 11” cardstock on top of the sheet (as in the photo) and cut a piece of tissue approximately 1 inch larger on all sides. Discard the extra tissue
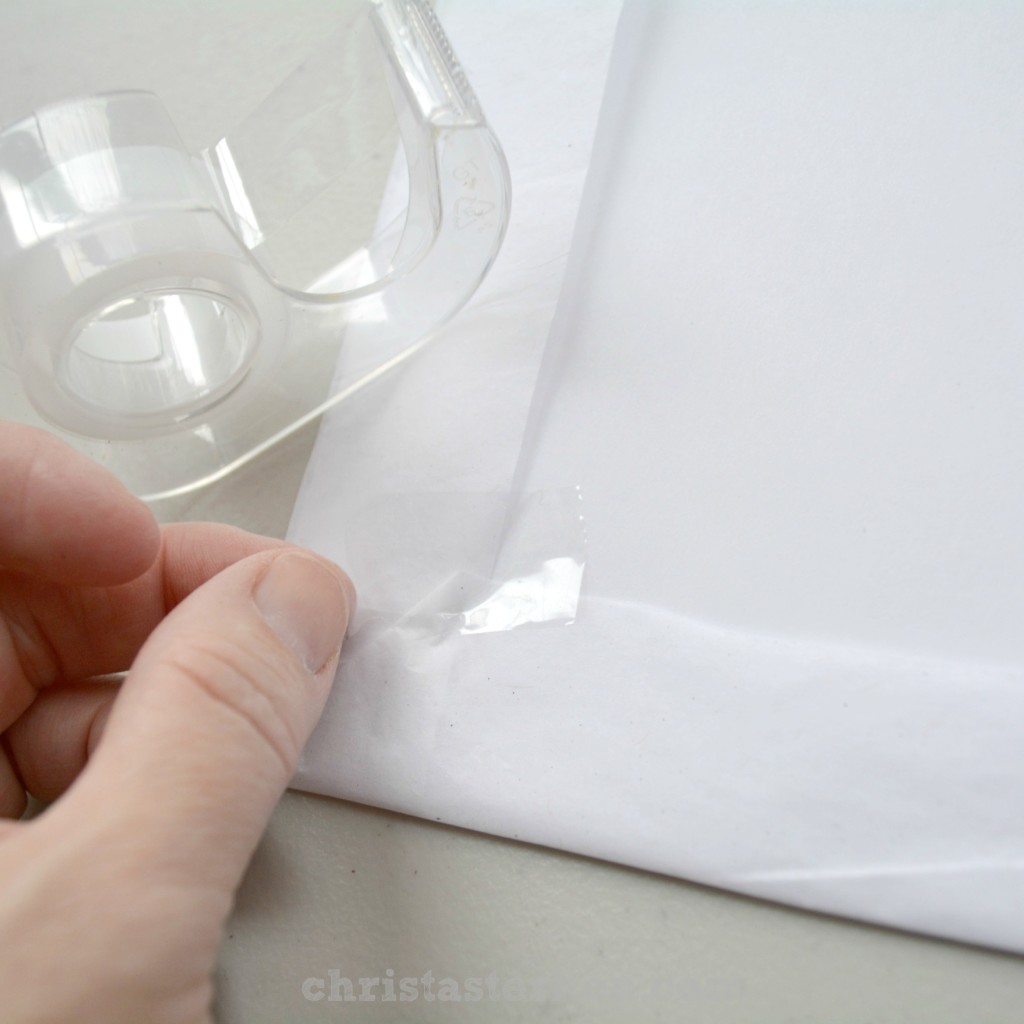
Fold the edges around the cardstock and tape securely, as if you were wrapping a present. It isn’t necessary to tape every edge, but make sure no loose flaps are up that might get caught in the printer
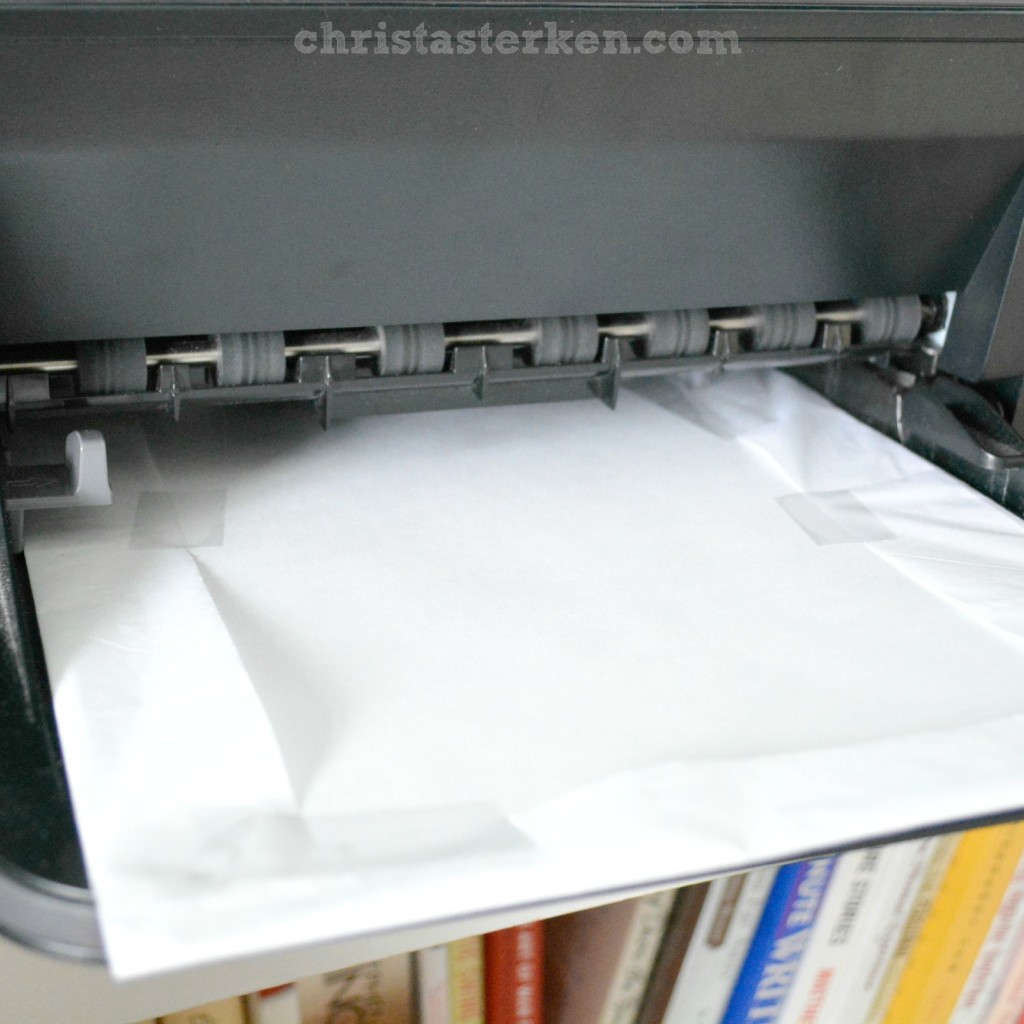
Place the tissue side face-down in the printer tray, so that the tape is facing upwards
Now print your picture, as you would any other, keeping an eye on how the paper feeds in. The first five or so I had no problem, it pulled it in just like regular paper. Then it got a little temperamental! Stay near to give it a hand if necessary
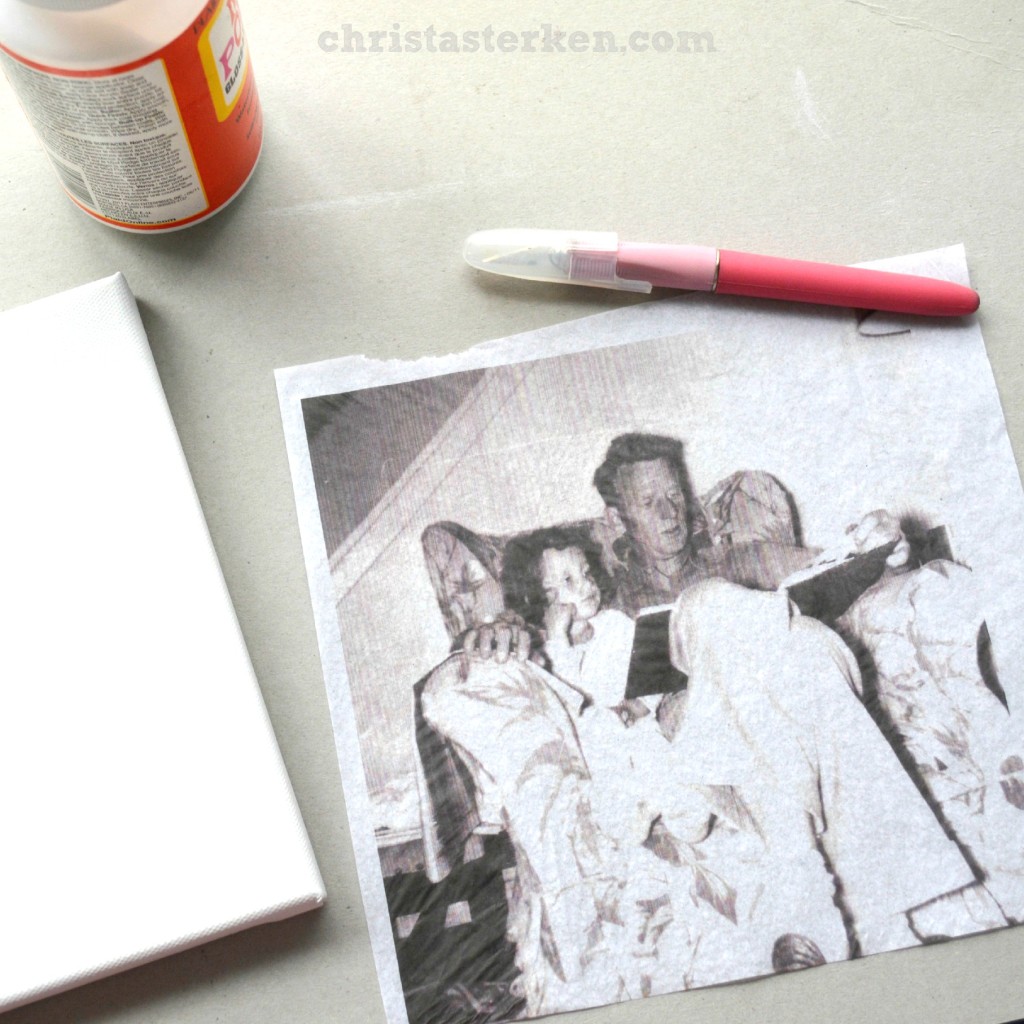
After it prints, spray the image lightly with hairspray to set the ink. Wait until dry before continuing
Using a craft knife, cut around the edge of your picture to remove it from the cardstock. Leave a small margin. No need to worry if it hangs slightly off the canvas. Once the project is dry, you can wipe a wet finger along the edge and it’ll come right off
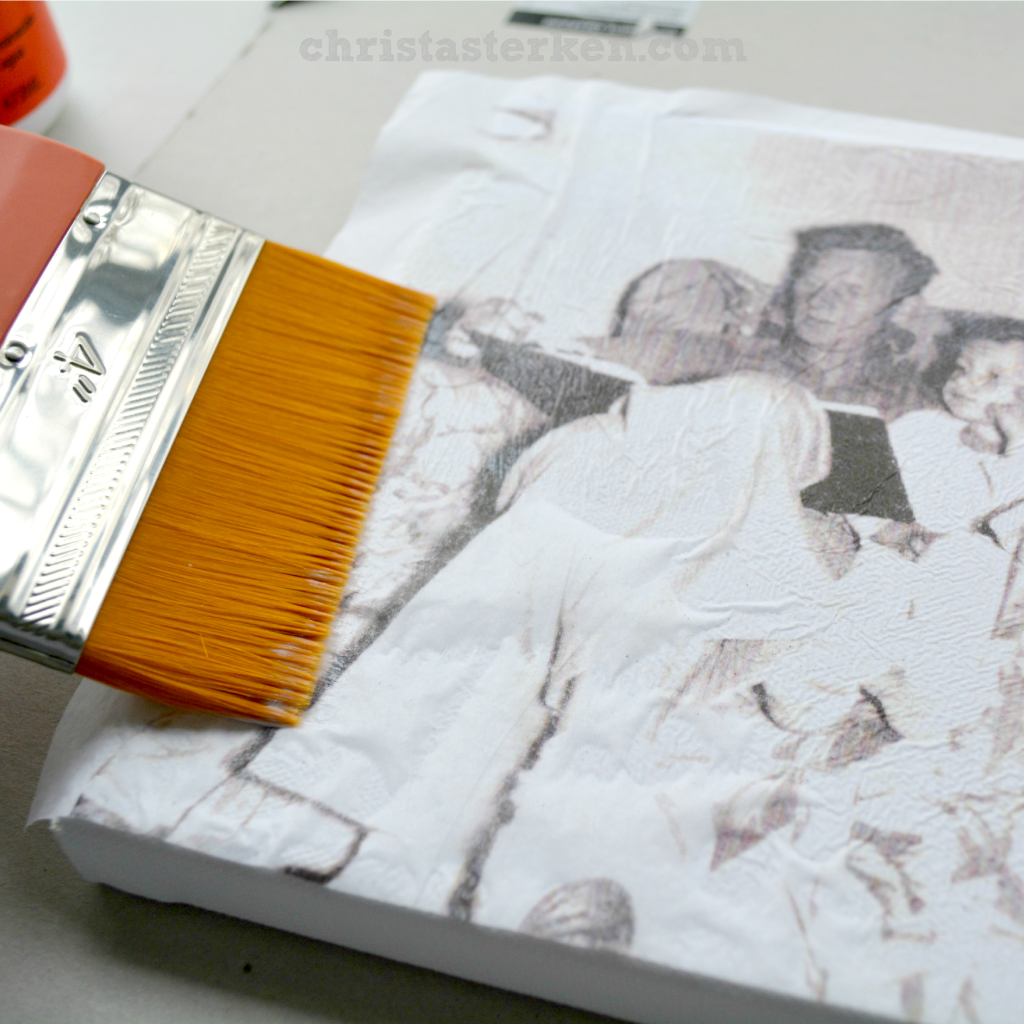
Spread a layer of Modgepodge on the canvas, making sure to reach the edges
Place the tissue paper image face down on the canvas, smoothing it carefully to remove large wrinkles. The nature of this project is delicate, so use caution as you smooth, and don’t worry over small wrinkles
When completely dry, seal with another thin layer of Modgepodge. The edges of each canvas can be painted for a uniform look or left unfinished like mine
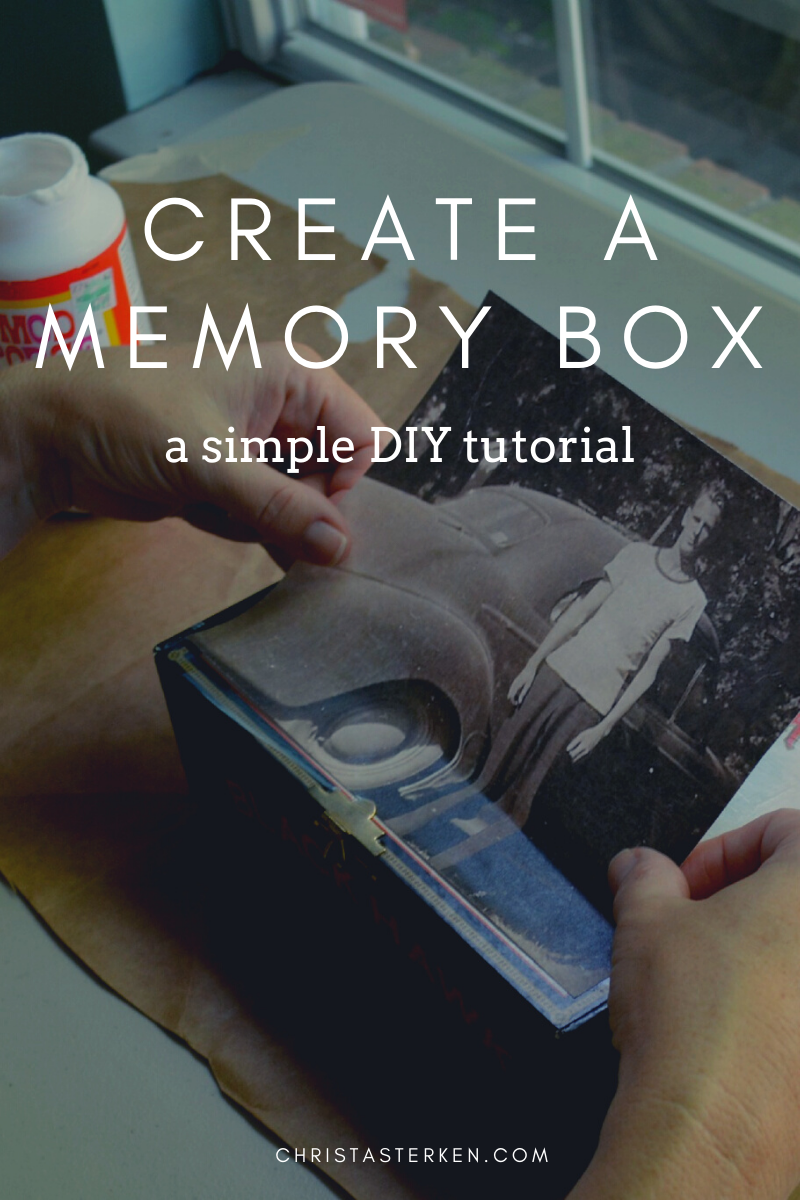
Did you enjoy the prospect of using family photos to decorate the house in meaningful ways? Here is another favorite idea, creating a Memory Box
(**originally published in my DIY series that runs in The Herald Bulletin in November 2014)
Disclosure: I only recommend products I do/would use myself. This post may contain affiliate links that at NO additional cost to you, may earn me a small commission to help support this blog. Read full privacy policy here.